Surveillance Officer Tutorials
Parish Surveillance Officers are responsible for monitoring disease notifications and investigation activity within their parish. They play a central role in ensuring that reported cases are reviewed, approved, investigated when necessary, and monitored for potential public health concerns.
Using the JEMS system, Parish Surveillance Officers can review incoming notifications, approve verified records, monitor case investigations, and track disease activity within their jurisdiction.
This tutorial explains how Parish Surveillance Officers can use the JEMS surveillance portal to perform several key functions including:
- Reviewing notifications submitted within the parish
- Approving notifications after verification
- Locating specific notifications within the system
- Monitoring whether case investigations have been completed
- Reviewing parish-level notification data
- Generating line listings of notifications
- Monitoring surveillance dashboards for trends and patterns
Exercise 1. Signing up for an Account or Testing your Login Credentials
1. Interaction with the notification system requires an active user account on the system. If you do not yet have a user account, please visit the URL below then click JEMS | Class 1 Notifications.
2. Click JEMS | Class 1 Notifications.
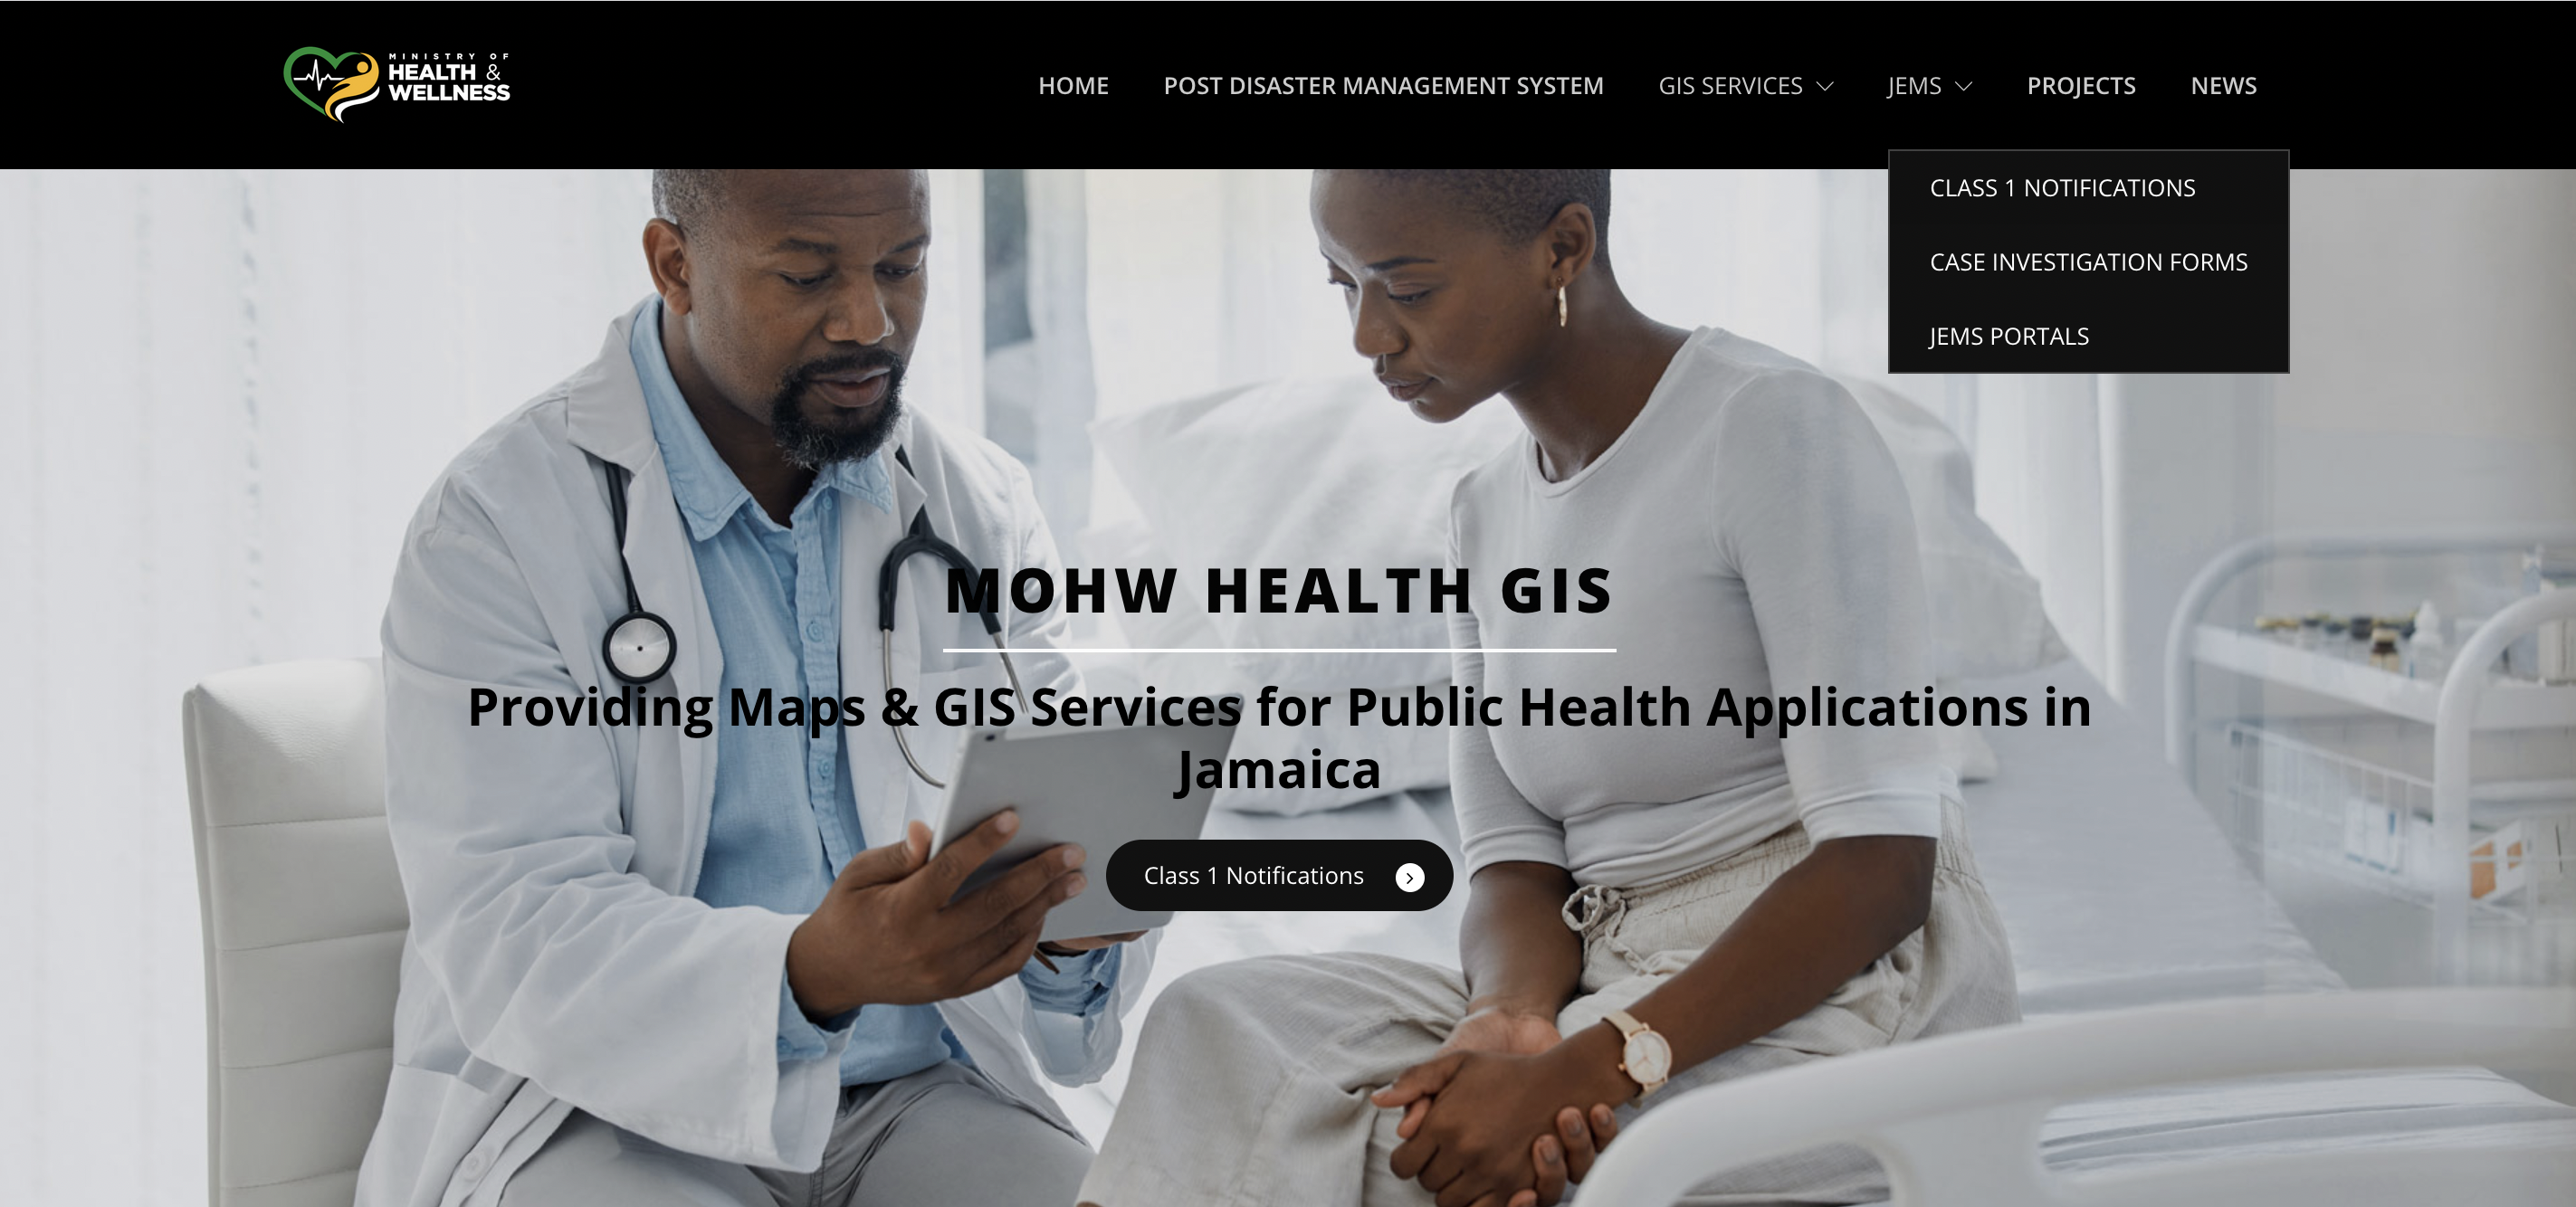
Figure 1.1: JEMS Signup Interface
3. When the new page appears, click the 'Sign Up' button and fill out the request form. Click Submit when finished.
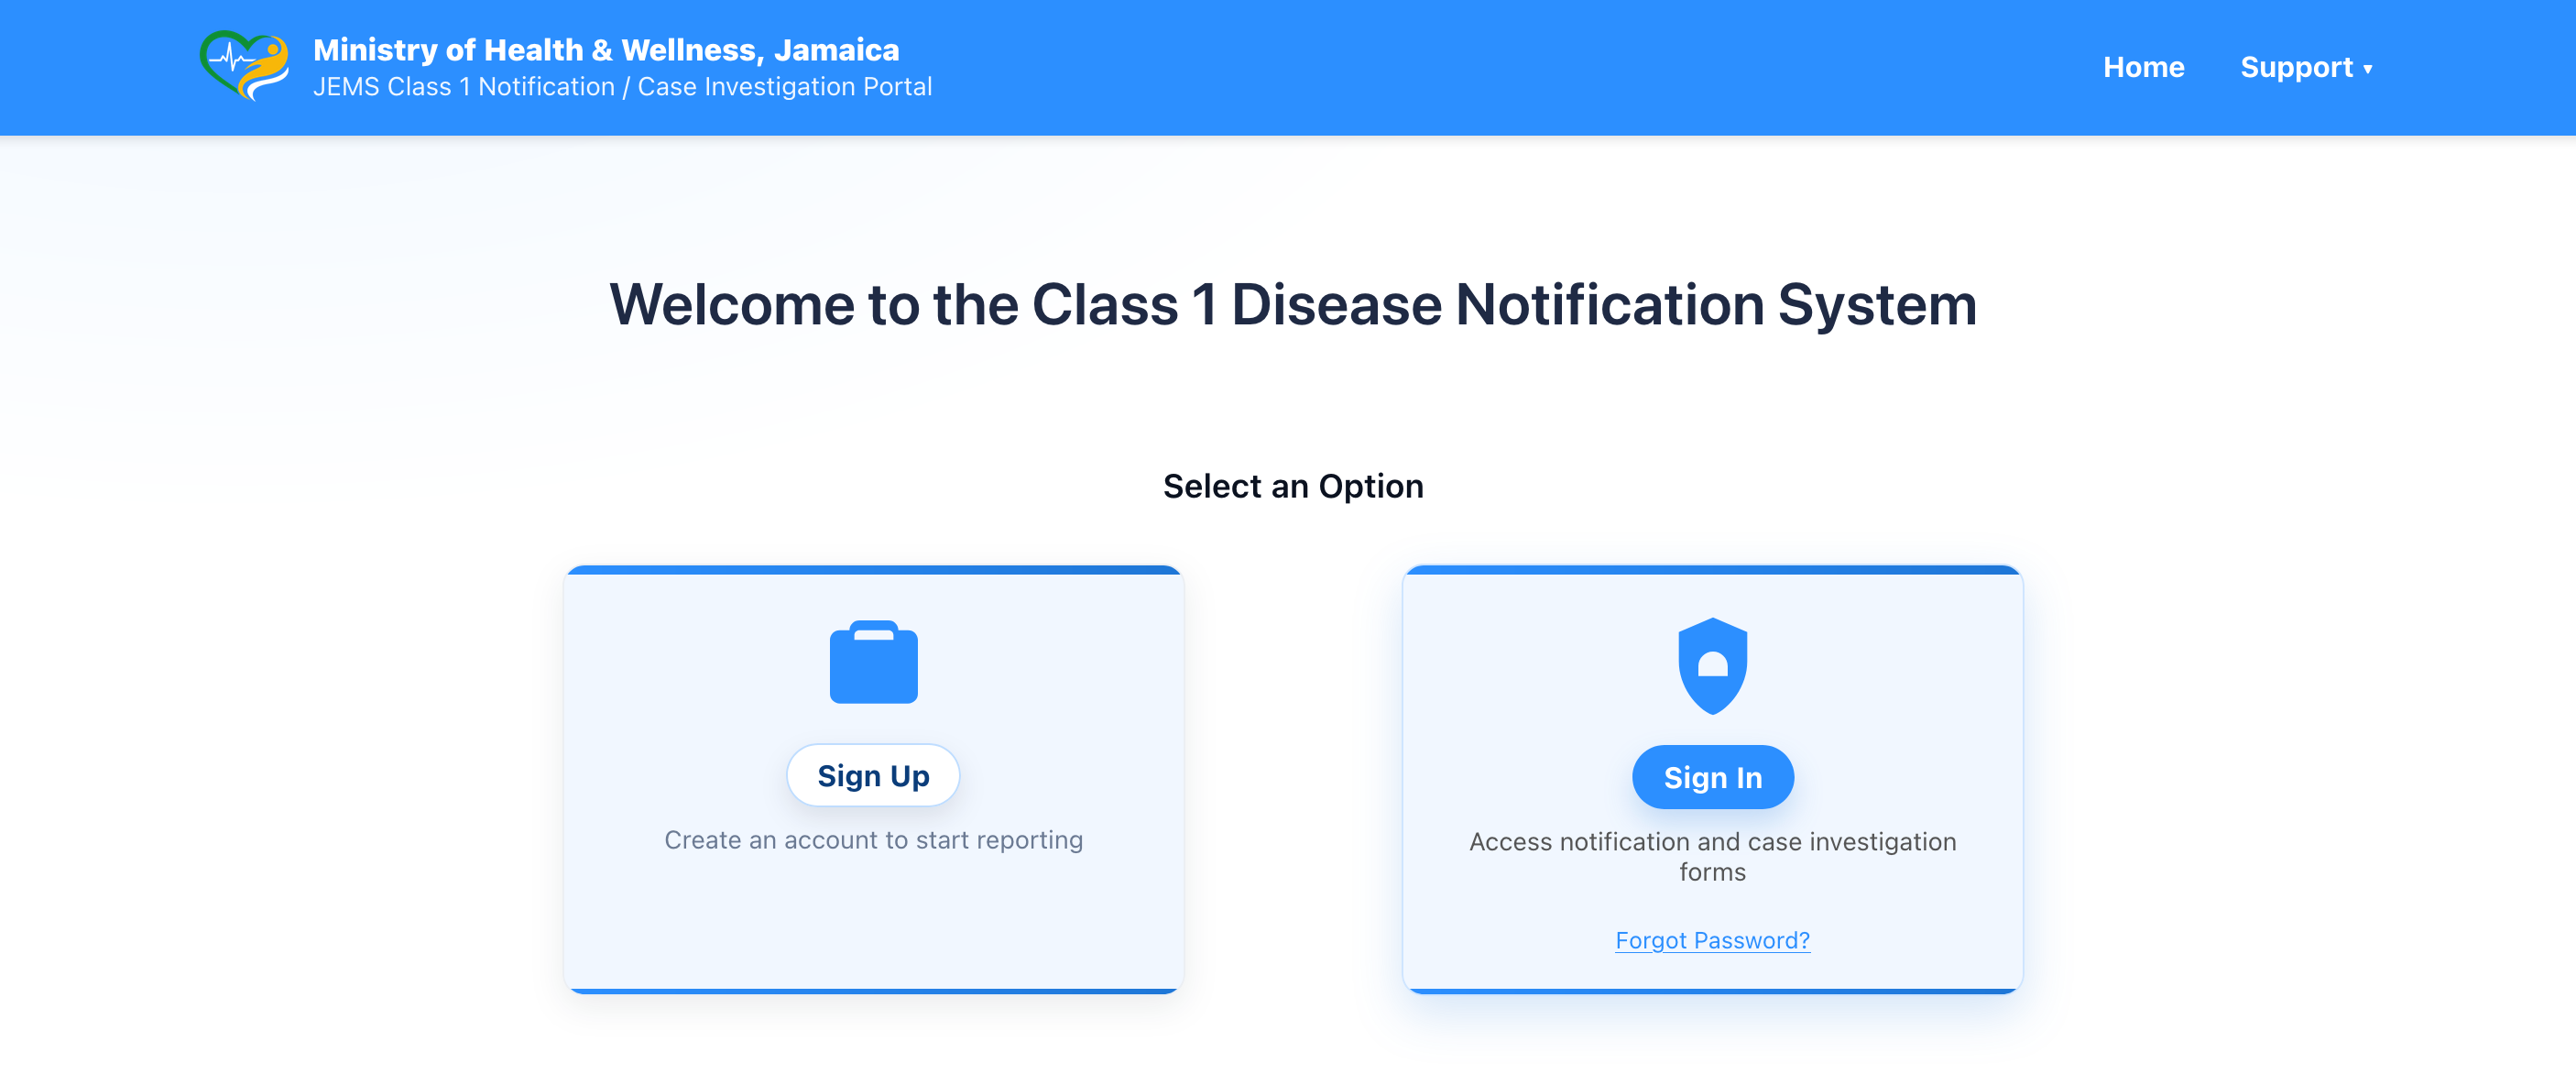
Figure 1.2: Sign Up Button Location
4. User accounts will be processed within 24 hours of the request.
Exercise 2. Approving Notifications
Before notifications proceed to case classification, they must be reviewed and approved by the Parish Surveillance Officer.
1. Steps for Approving a Notification
- Log in to the Surveillance Portal.
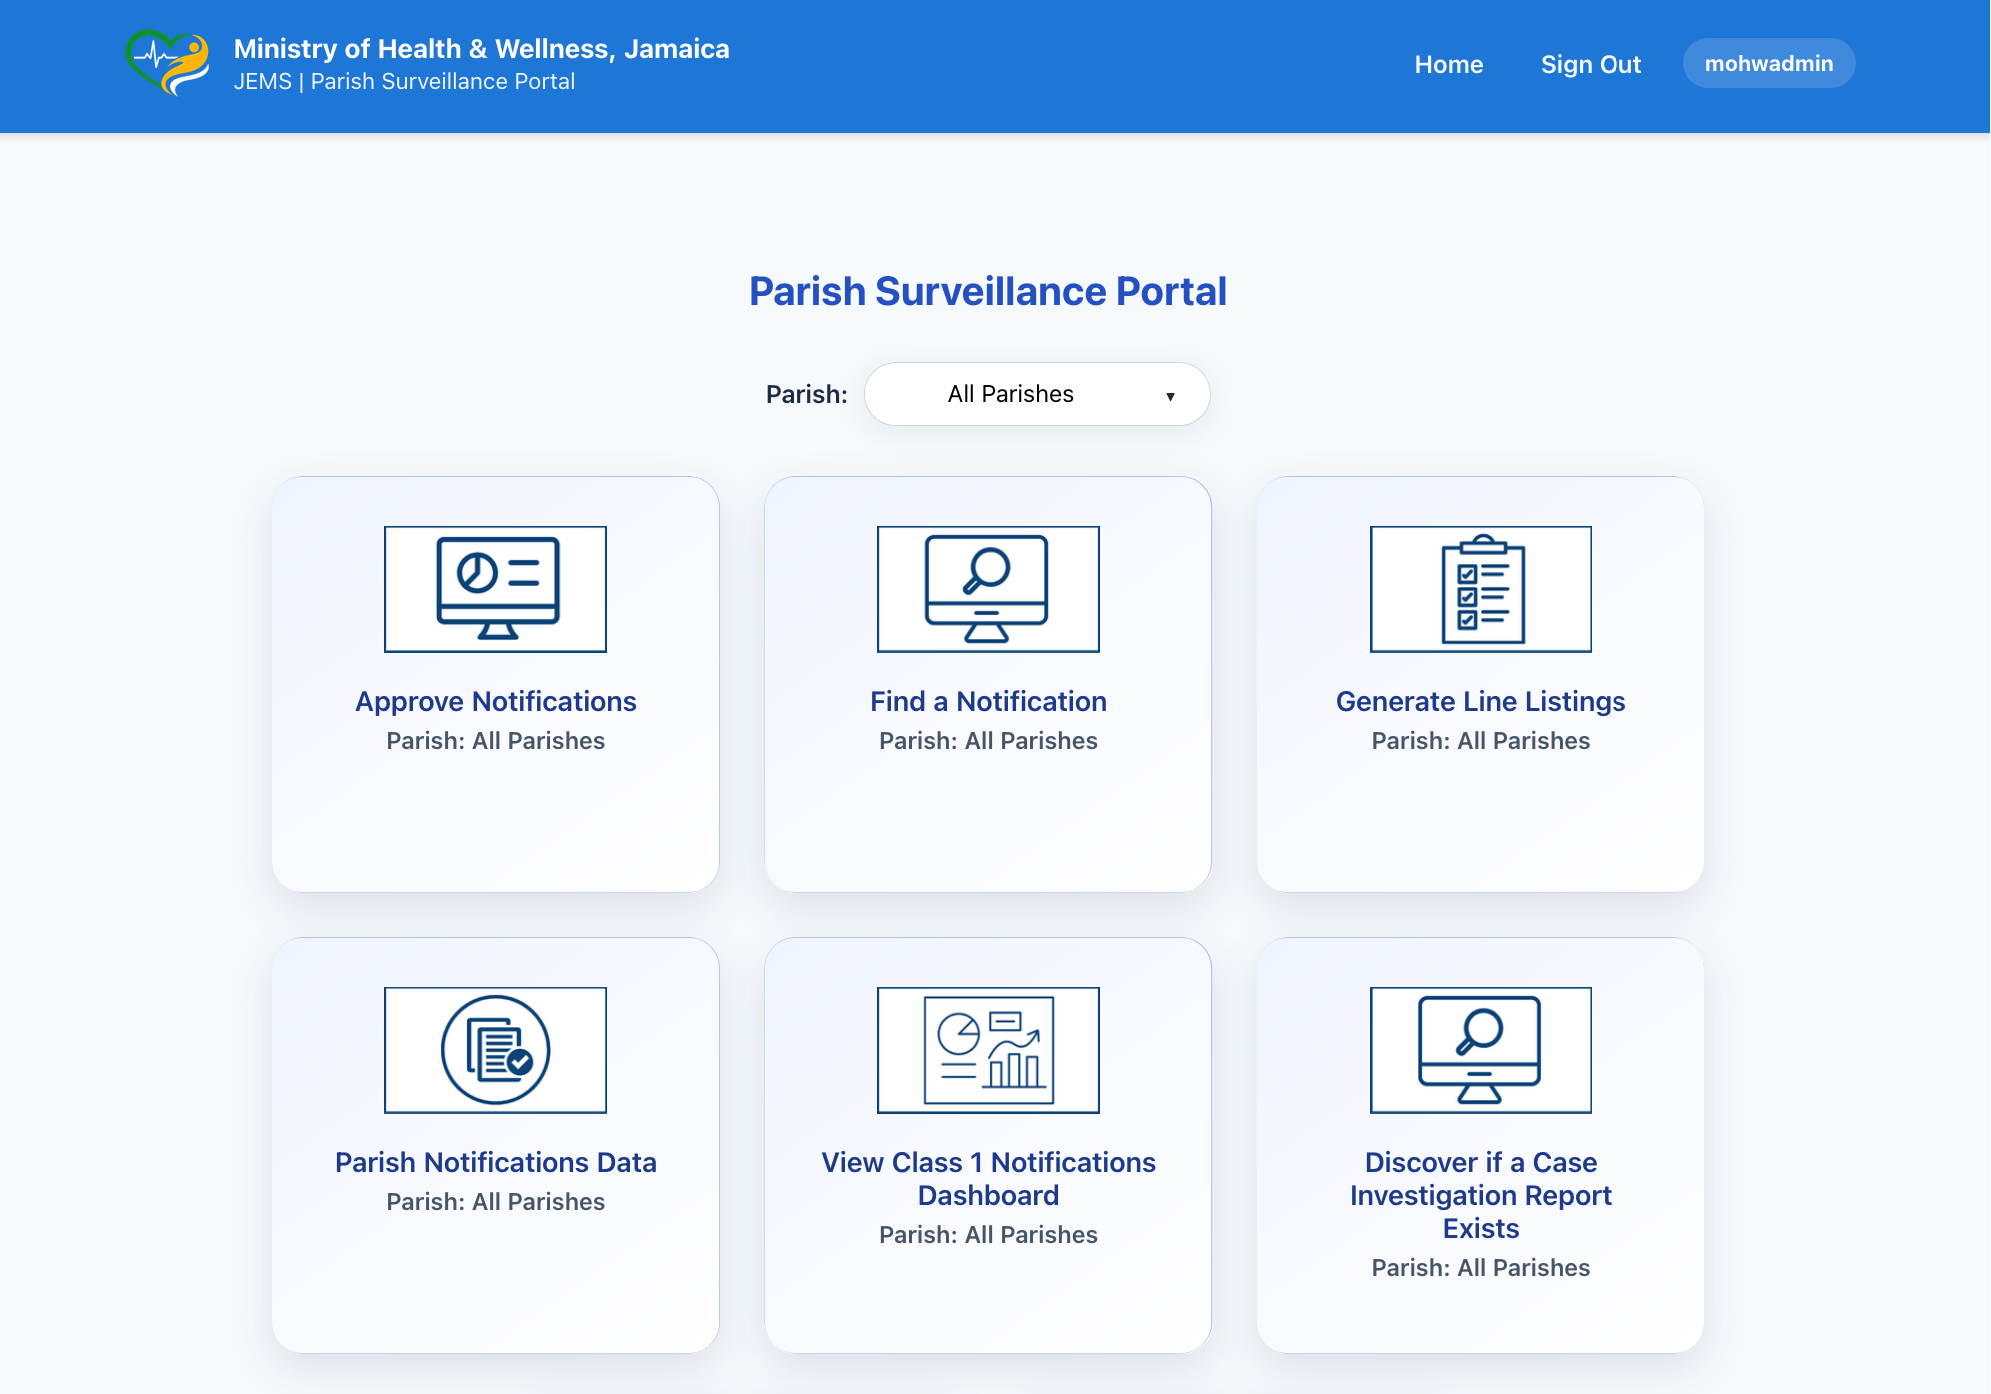
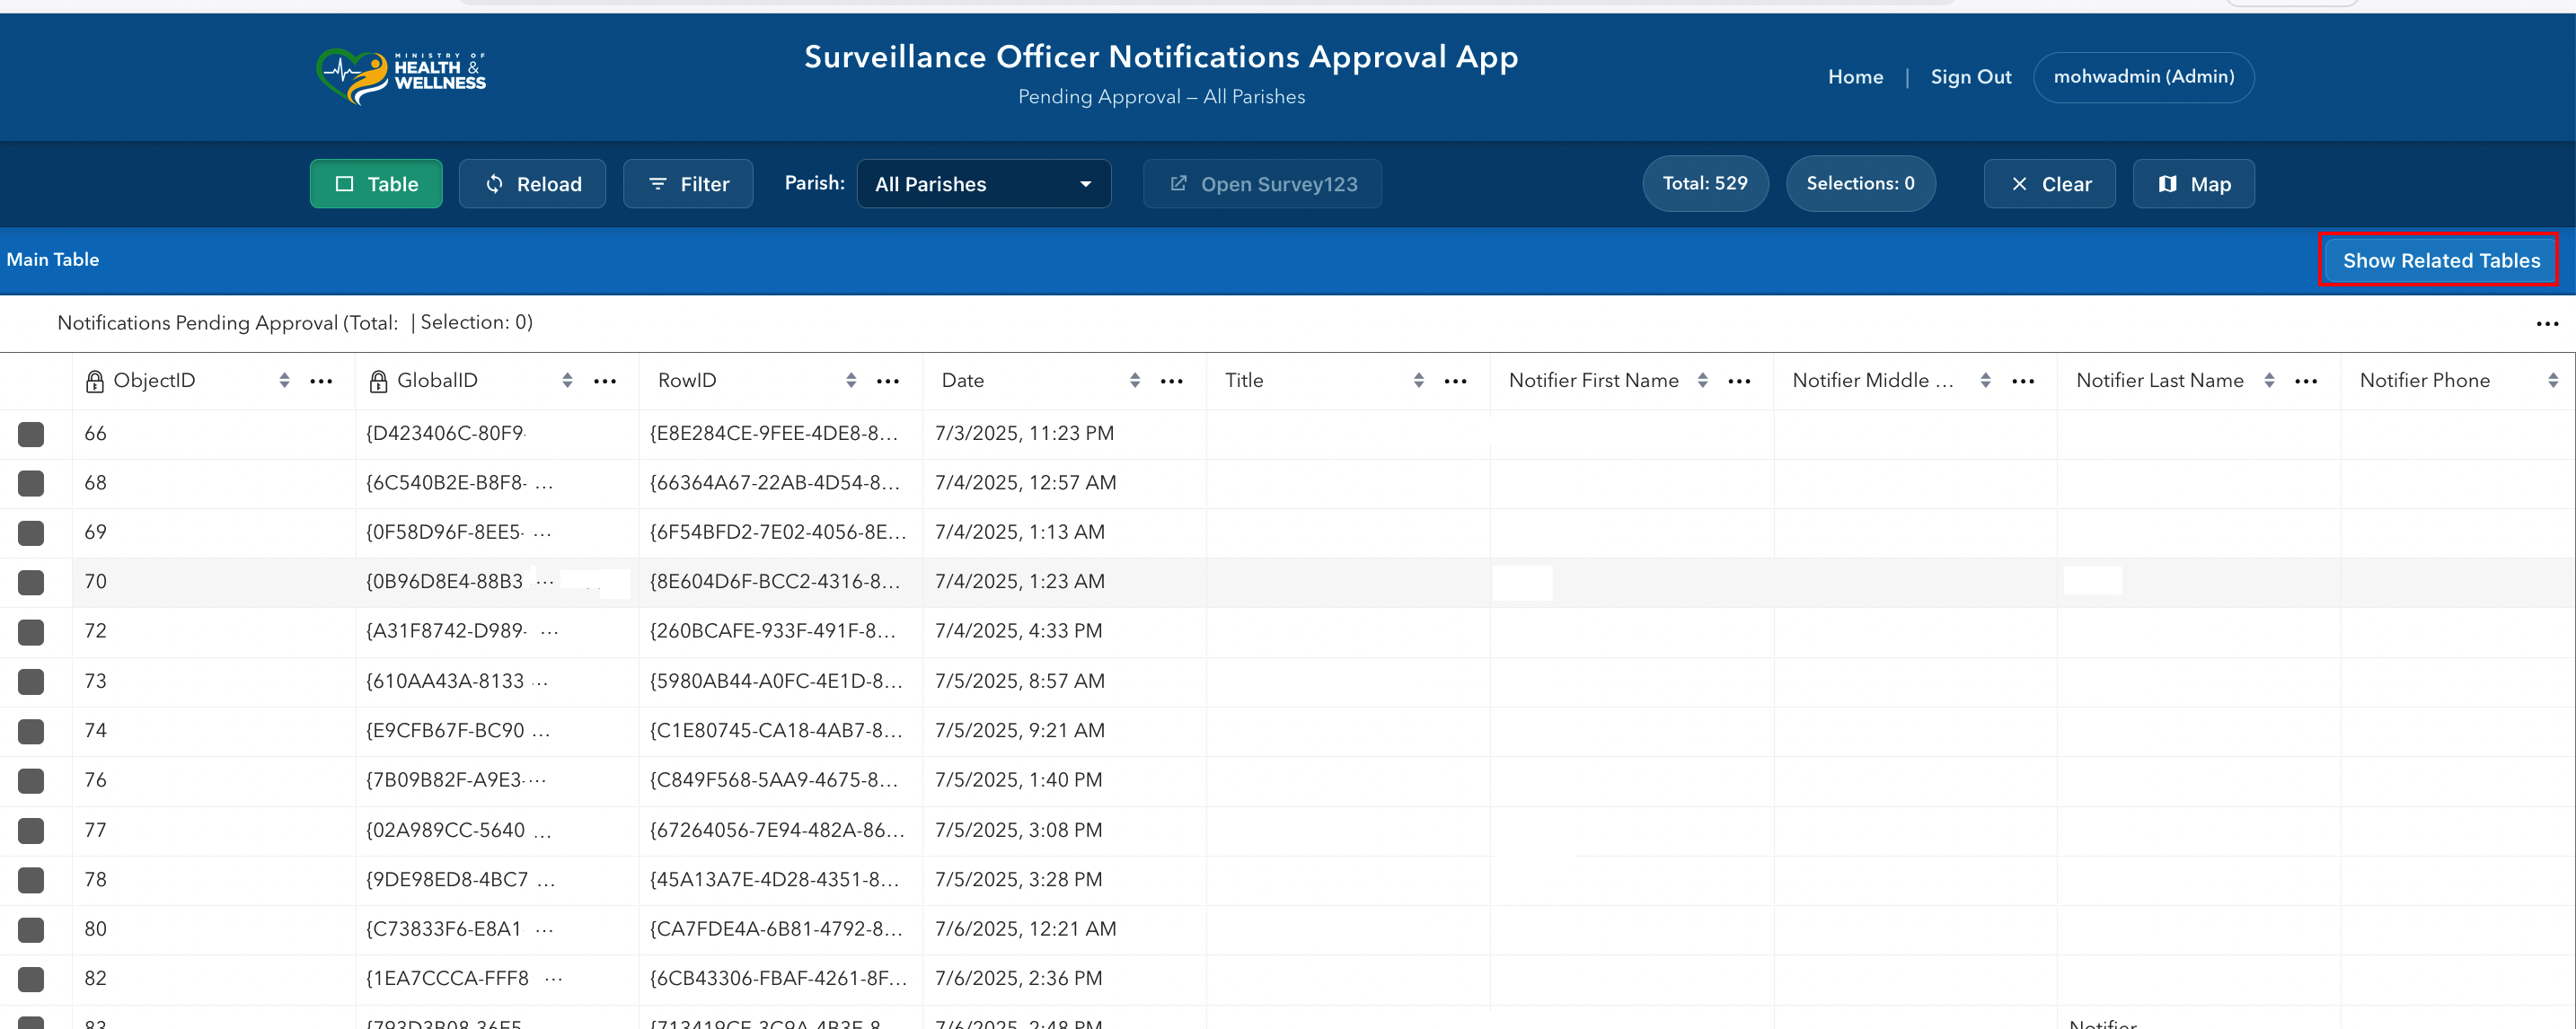
- From the Home page, select Approve Notifications from the portal dashboard. The parish surveillance officer approval app will appear.
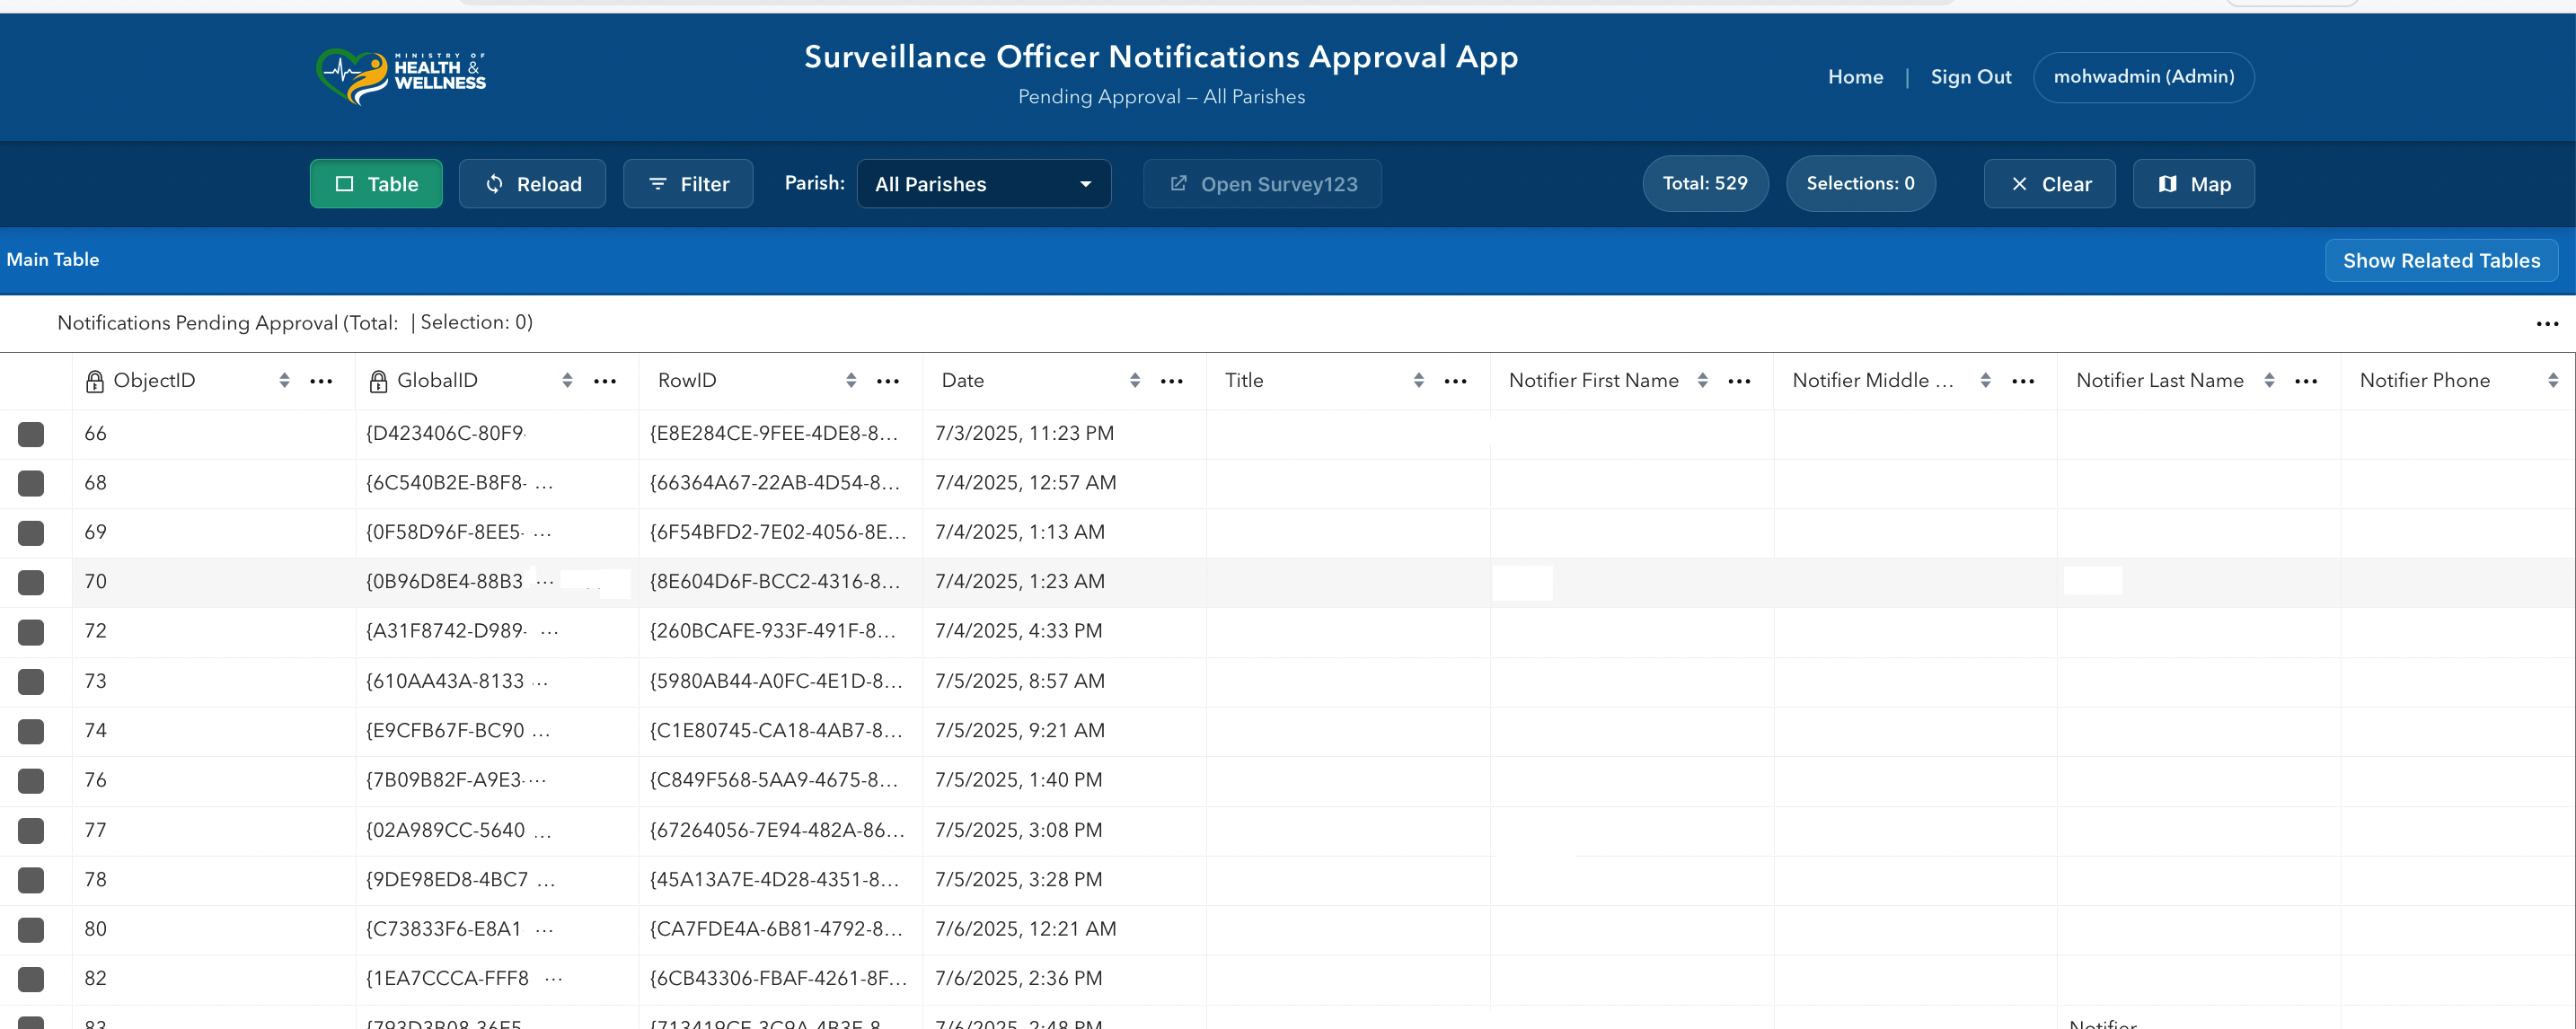
The app contains a table view and also a map view. For editing notifications, the table view is often the quickest place to begin but if you prefer to edit via the map, you may do so. The toolbar includes tools such as Filter, Show Related Tables, Clear Selection, Map, and Open Survey123. Let’s start with the Table View.
2. Select a notification to review by clicking on the checkbox to the left of the page.
3. Scroll through the record and verify the information in the notification form, including:
- Patient details
- Diagnosis
- Reporting facility
- Location information
Confirm that the record has been edited and verified by the EPI Clerk.
4. If a value is unclear, you can also click on Open Survey123 to view the original notification. This is particularly handy for filling in missing latitude/longitudes. If latitude/longitude are missing, use the map in Survey123 to fill in the values. This is the safest way to ensure that points are created when you fill in missing latitude/longitudes.

5. If the notification has related records, click Show Related Tables. Review tables such as countries visited, symptoms, vaccination information, or sample details if they are relevant to the notification you are editing. Update related records only when needed and ensure that any edits remain consistent with the main notification record.
Approve the Notification
1. When you are done editing a record, change the approval_status field from Not Approved to Approved. Only do this when all reviews are complete, as this will cause the record to disappear from the screen and become available to the Medical Officer of Health.
2. After completing the edit, select the next record and review process.
13. When you have finished reviewing records, click Sign Out in the app header. Wait for the sign-out process to complete. Close the browser tab if you are on a shared or office workstation. This protects access to confidential health records.
Approving a Notification Using the Map View
1. On the toolbar, click the Map button. This changes the display from the table view to the map view.

2. Move the map to the area where the notification is located. You can zoom in and out and pan across the map to find the correct location.
3. Click the Select button on the toolbar on the dialog to the right of the screen. This activates map selection mode.

4. With the Select tool active, click the point that represents the notification you want to edit. The app will select the record and display the details in the editor panel to the right of the screen.
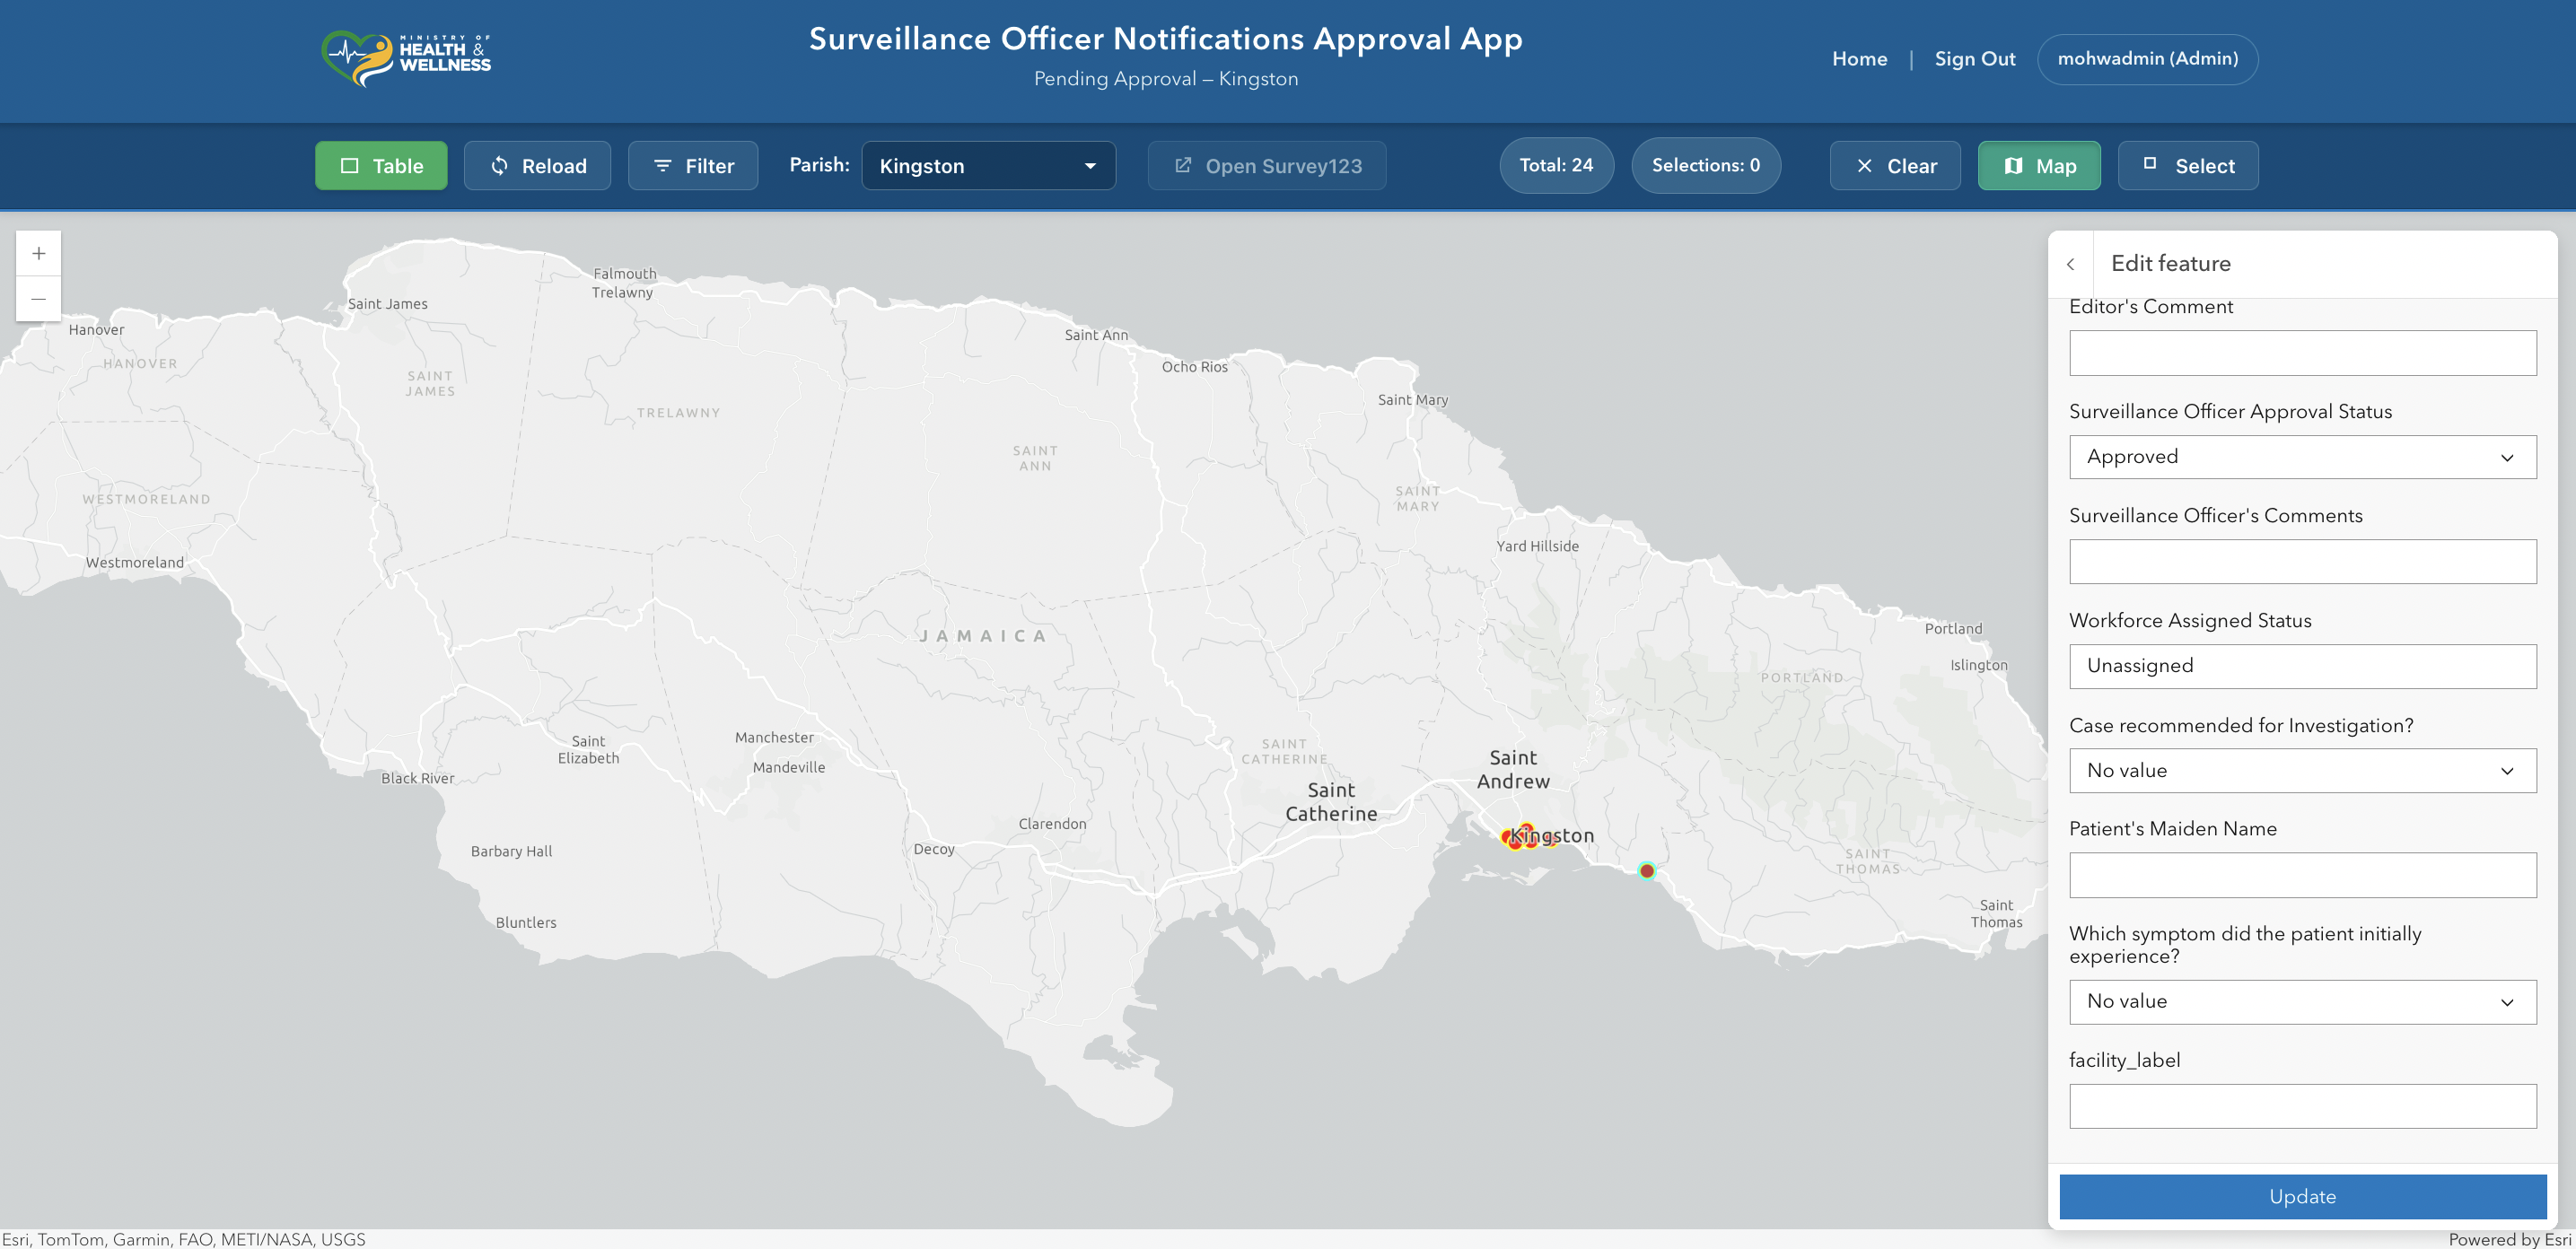
5. Sometimes more than one record is selected. If this happens, it often means that multiple dots are lying exactly on top of each other. In such a case, select one of the records that show up on the dialog to the right of the screen. This will cause the editor panel to open.
6. Read through the notification fields before making any changes. Check that the patient details, disease, dates, parish, address, and other important fields are correct and complete.
7. Edit the fields that need correction or completion. Only change the information that is necessary.
8. If the record requires additional checking, return to the table tools and use Show Related Tables to inspect linked information such as symptoms, travel history, vaccination information, or sample details. Confirm that the related information matches the main notification record.
9. After making the required edits, save or apply the update in the editor panel. Wait for confirmation that the edit was successful.
10. Review the record again to confirm that your changes were saved correctly.
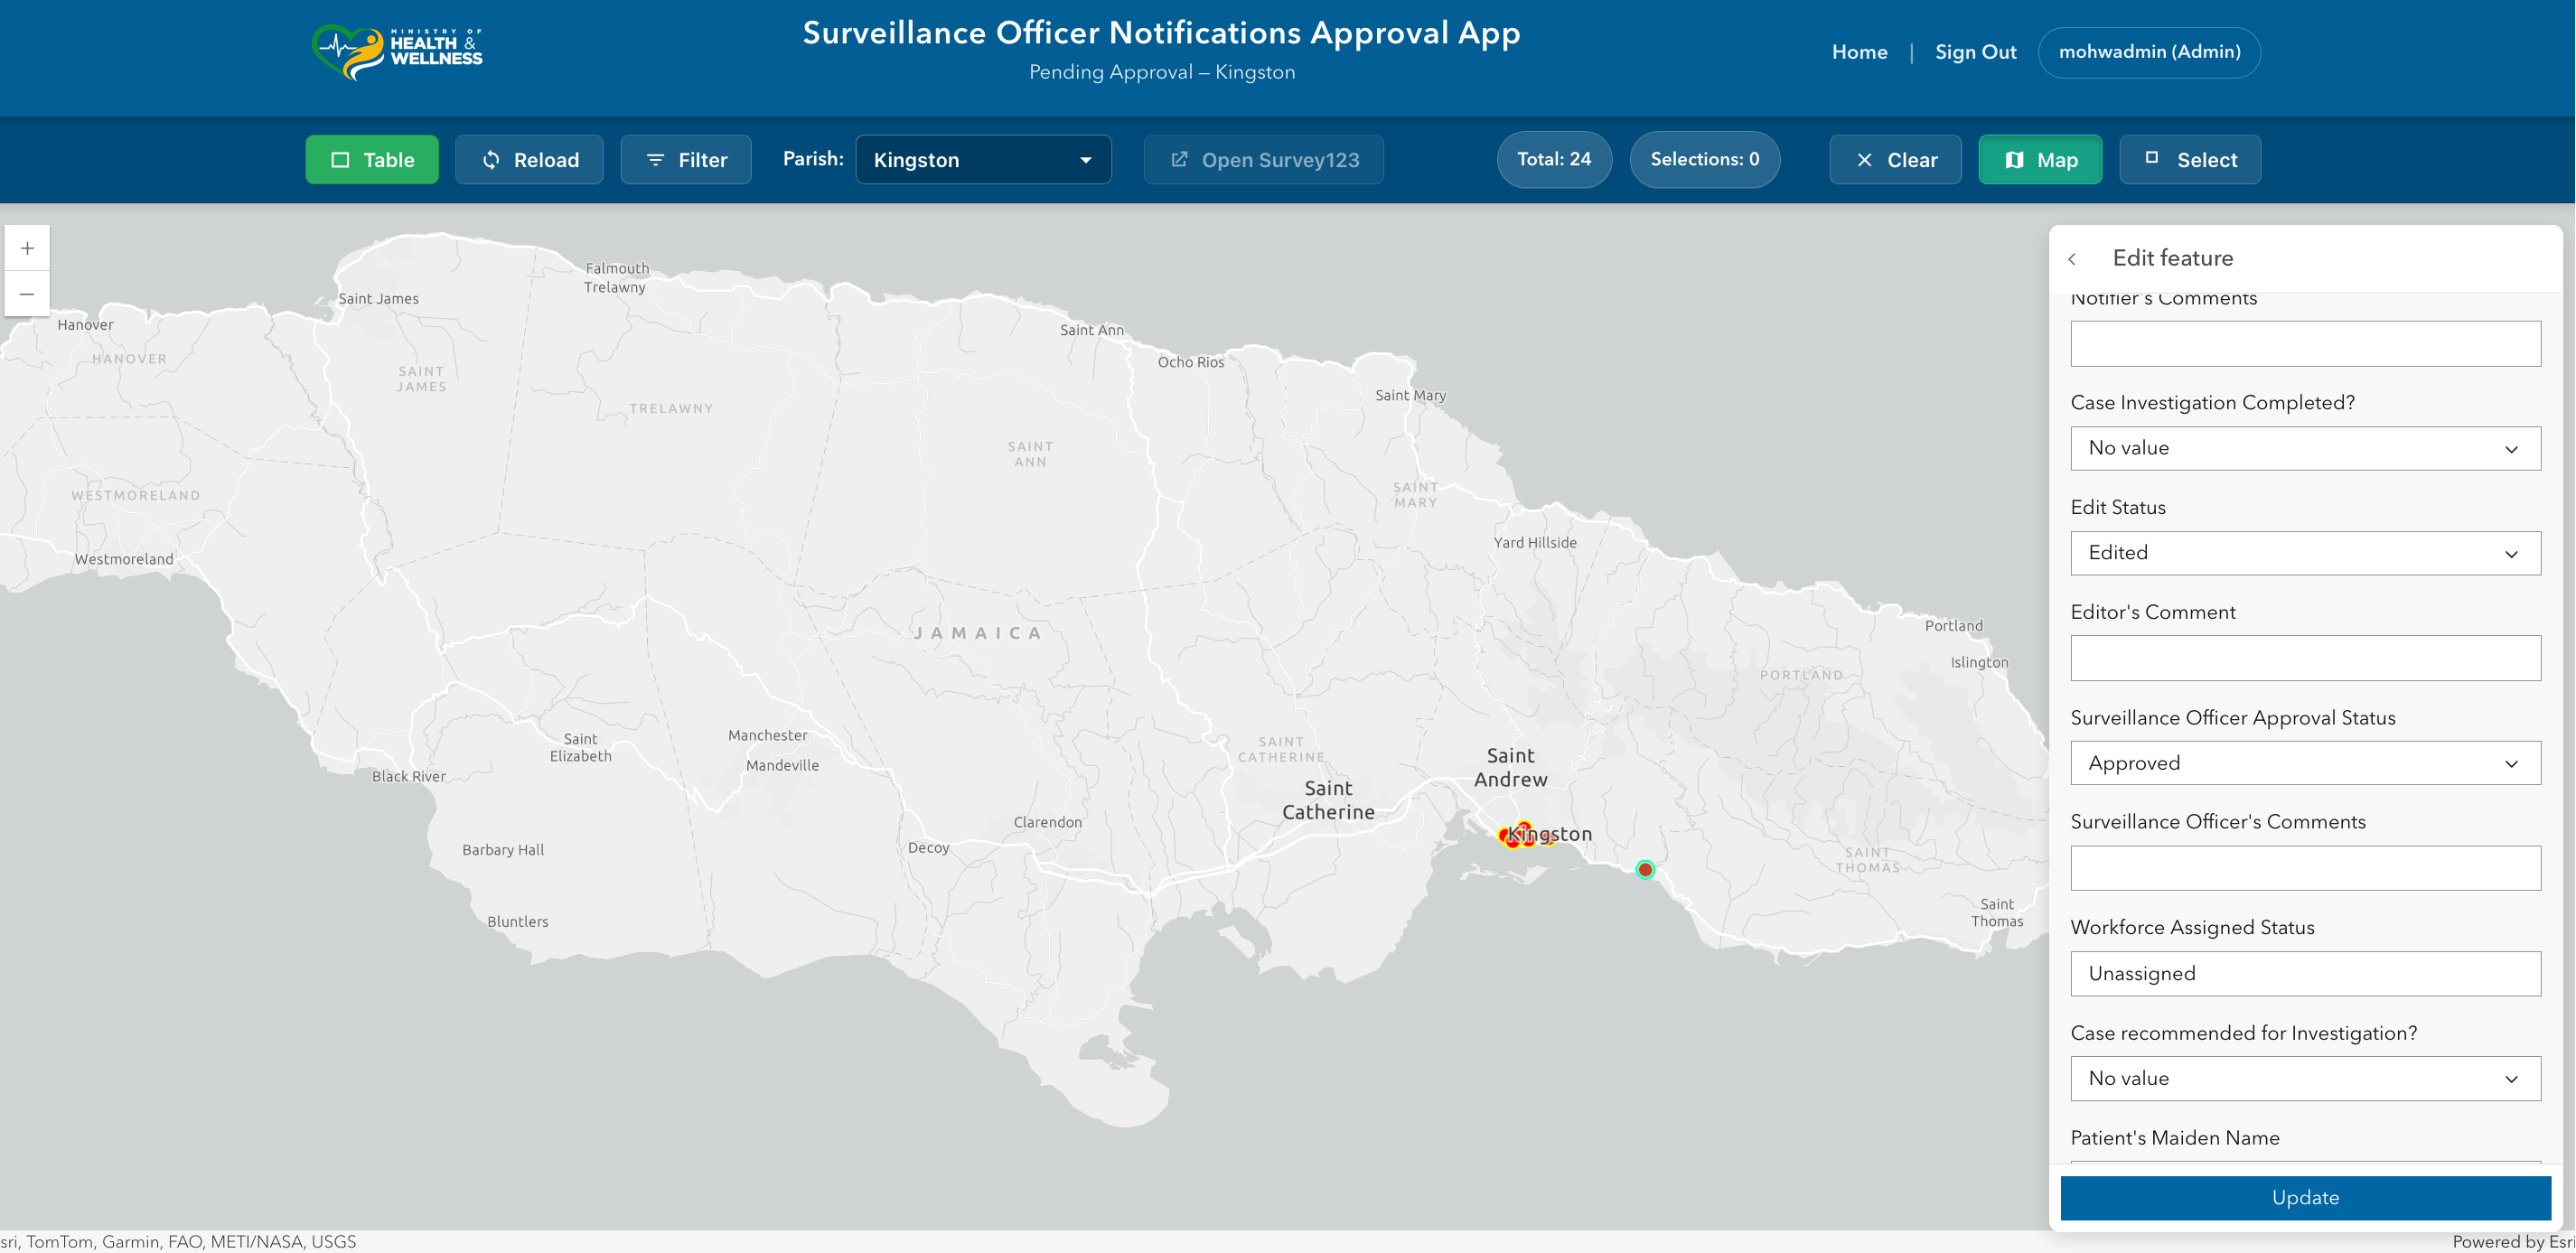
11. To complete editing the record, scroll down to the Edit Status field, then set the edit status to “Edited”.
12. Click Update to move the record to the Surveillance Officer’s app and to view the next record.
13. When you are finished, click Sign Out in the header. Close the browser tab if needed, especially on a shared computer.
Good Practice Notes
Work carefully and consistently. Always verify that you have the correct patient before changing anything. Use the related tables only when necessary for the task. Do not leave a session open when away from your desk.
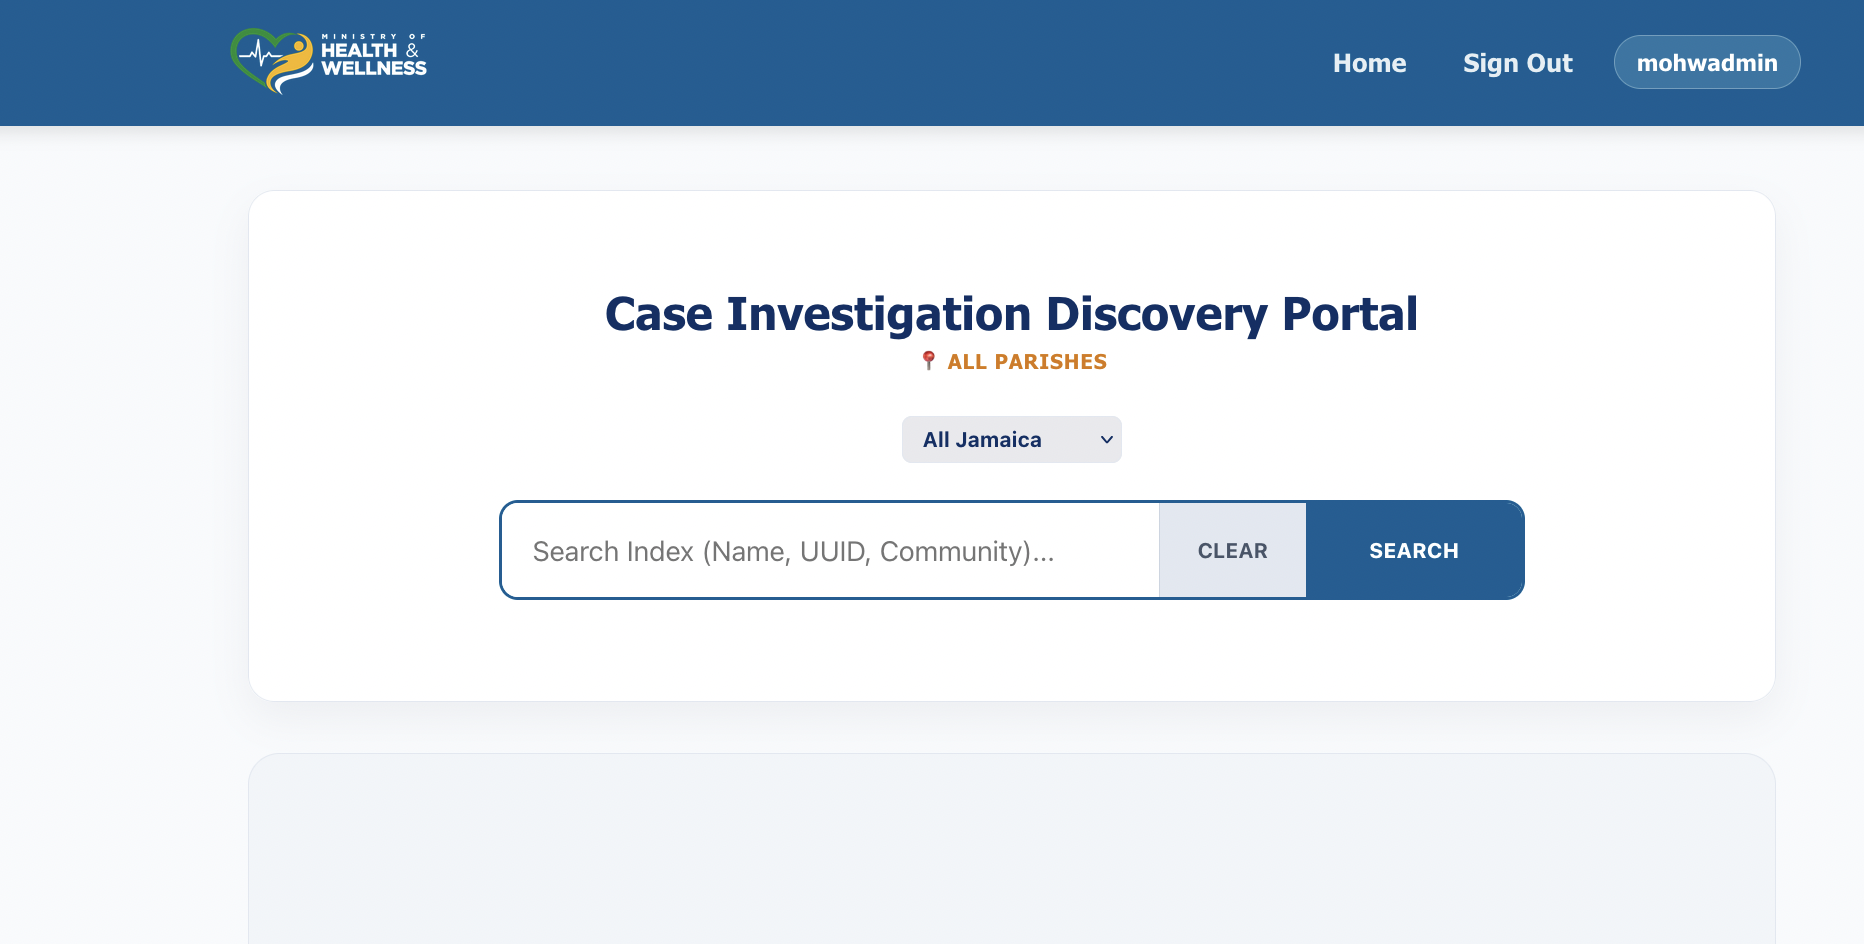
Exercise 3. Finding Notifications & Investigations
Surveillance Officers often need to locate specific notification records to review case information or respond to inquiries.
Steps for Finding a Notification
- Go the Home Page of the Parish Surveillance Officer Portal.
- Open the Find a Notification tool in the portal.
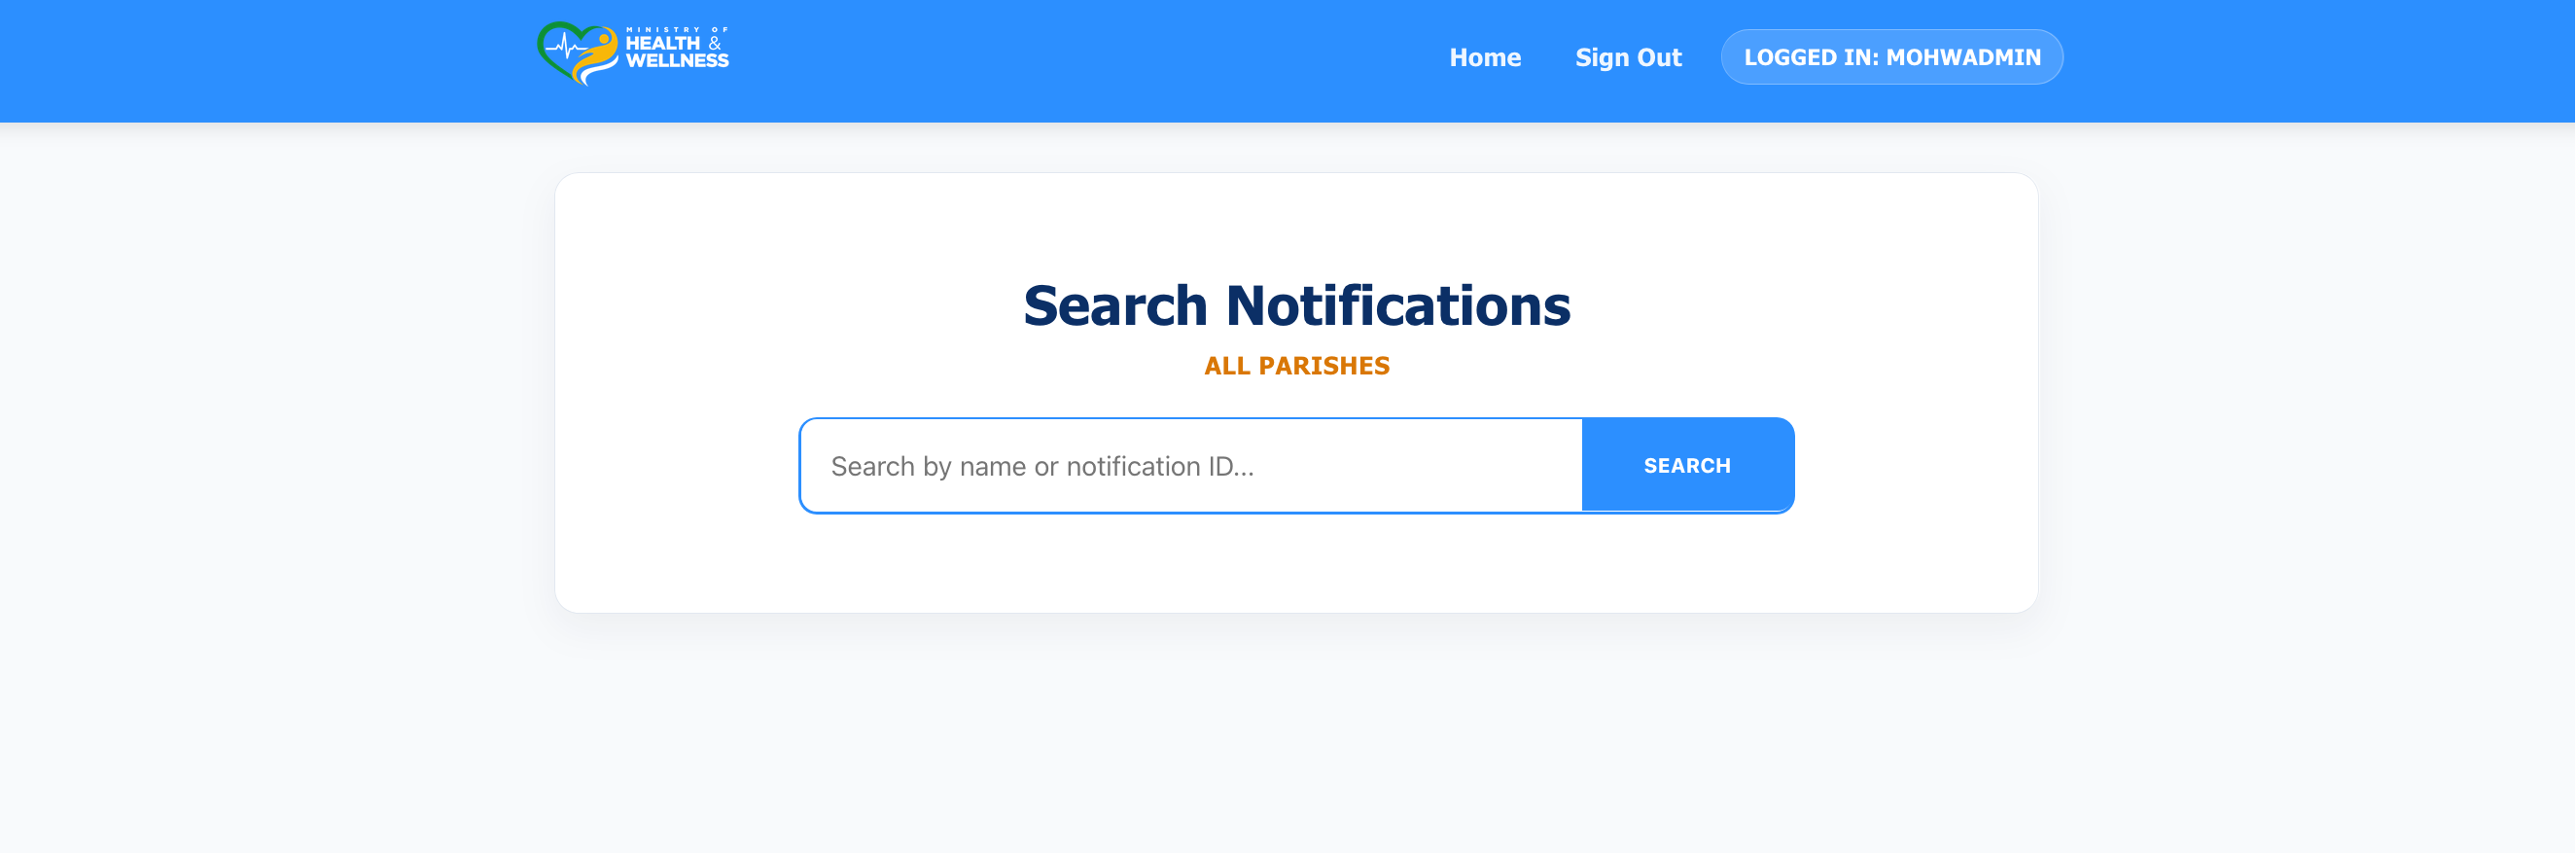
- Enter search criteria such as: Patient name, Disease, Parish, Date of notification.
- Review the search results.
- Select the notification to view the full record.
Finding a Case Investigation
Surveillance Officers often need to locate specific case investigation records to review case information or respond to inquiries. Steps for Checking Case Investigations are:
- Go the Home Page of the Parish Surveillance Officer Portal.
- Click on “Discover if a Case Investigation Report Exists” tool in the portal.
- Search for the case investigation using the patient’s name.
- Verify whether a case investigation report has been submitted.
- If an investigation has not been completed, follow up with the assigned investigator.
Exercise 4. Generating Line Listings
Line listings provide a table of surveillance records that can be used to review disease activity within the parish. Steps for Generating a Line Listing:
- Go the Home Page of the Parish Surveillance Officer Portal.
- Select Generate Line Listings from the portal.
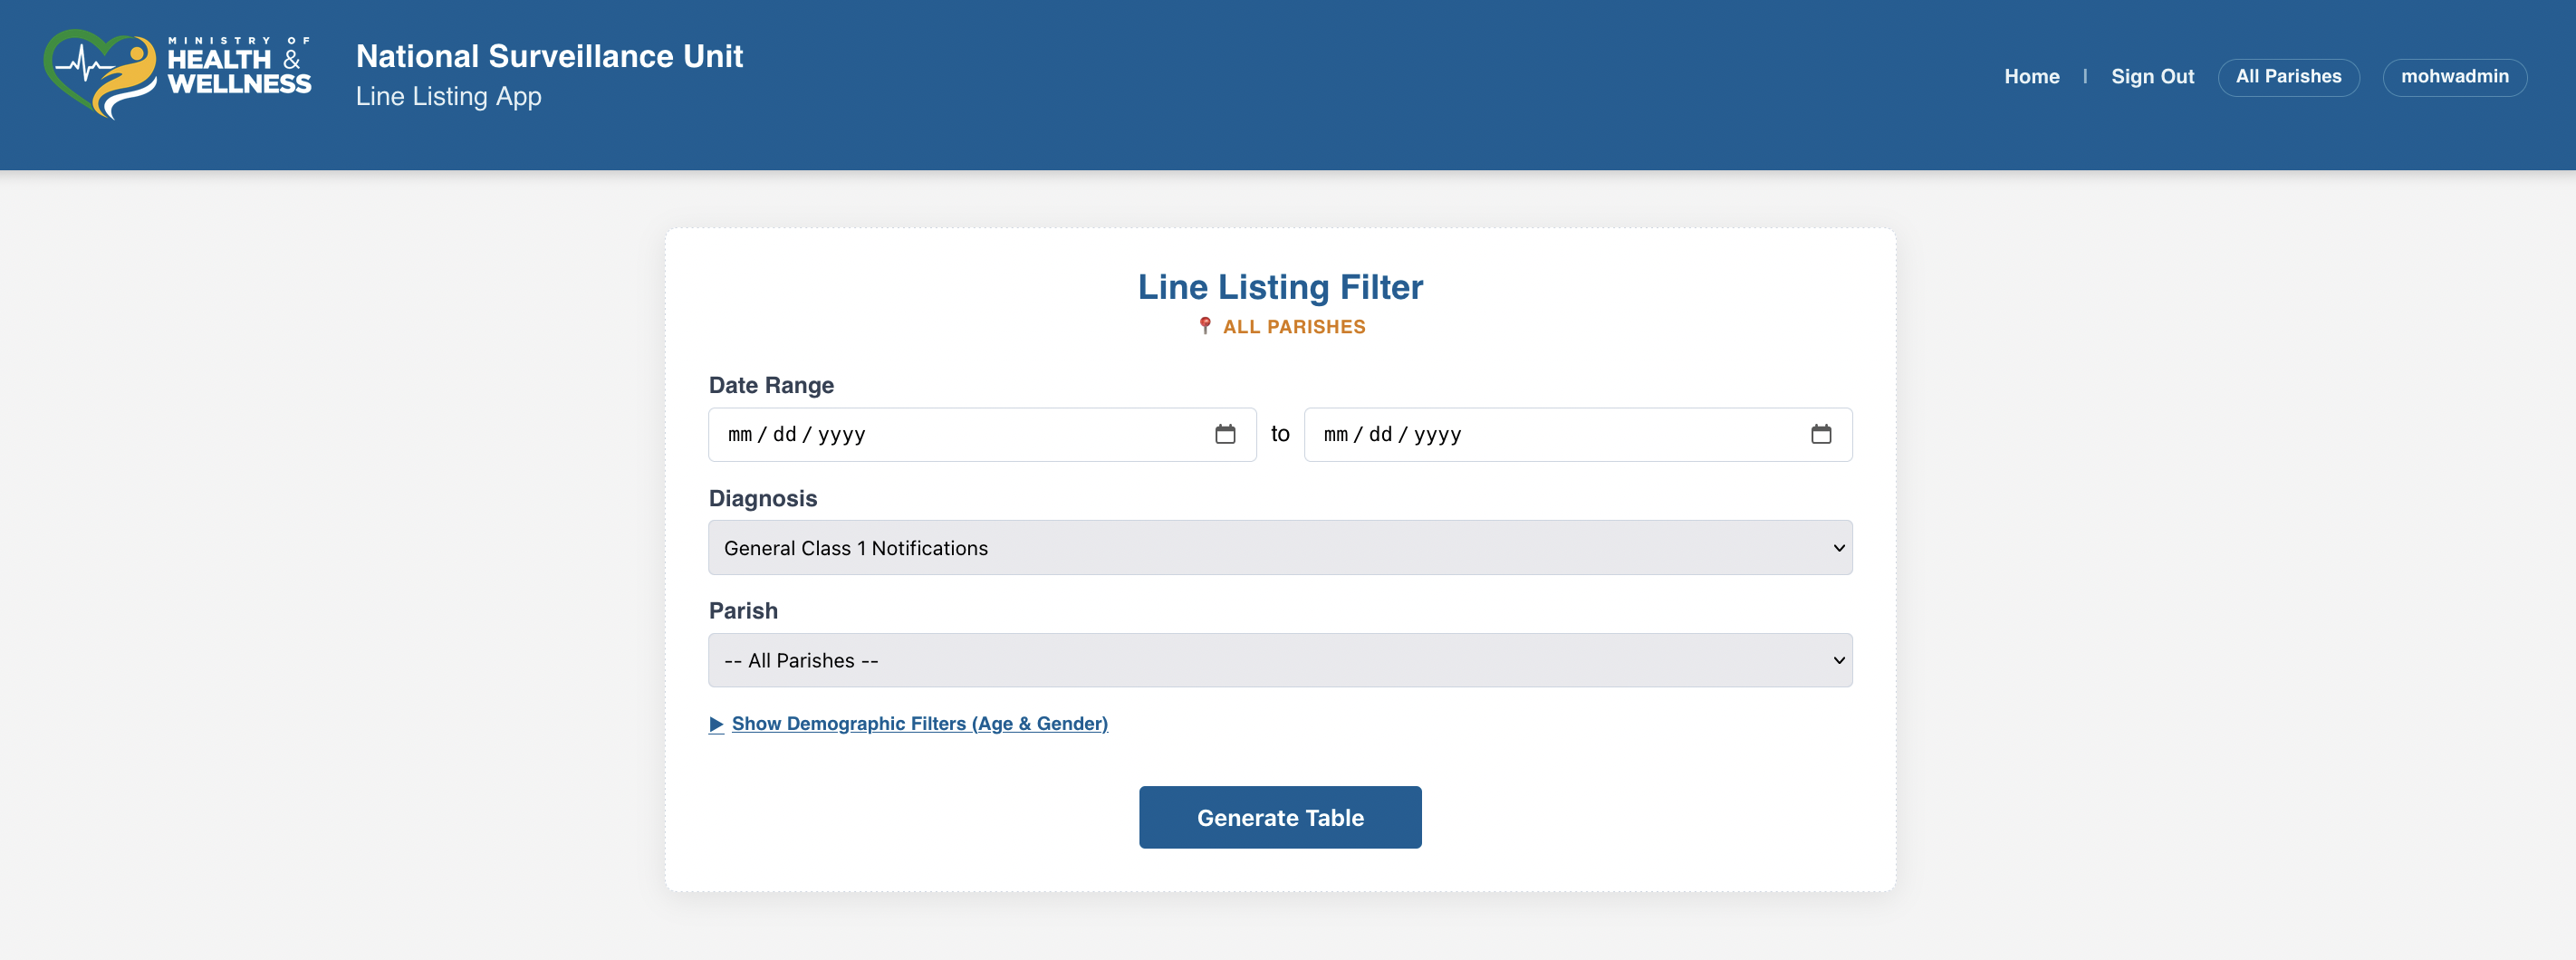
- Choose the disease or time period to review.
- Apply any necessary filters.
- Generate the listing to view notification records.
- Export the results if required.
Line listings help surveillance officers review case details and identify possible clusters of disease.
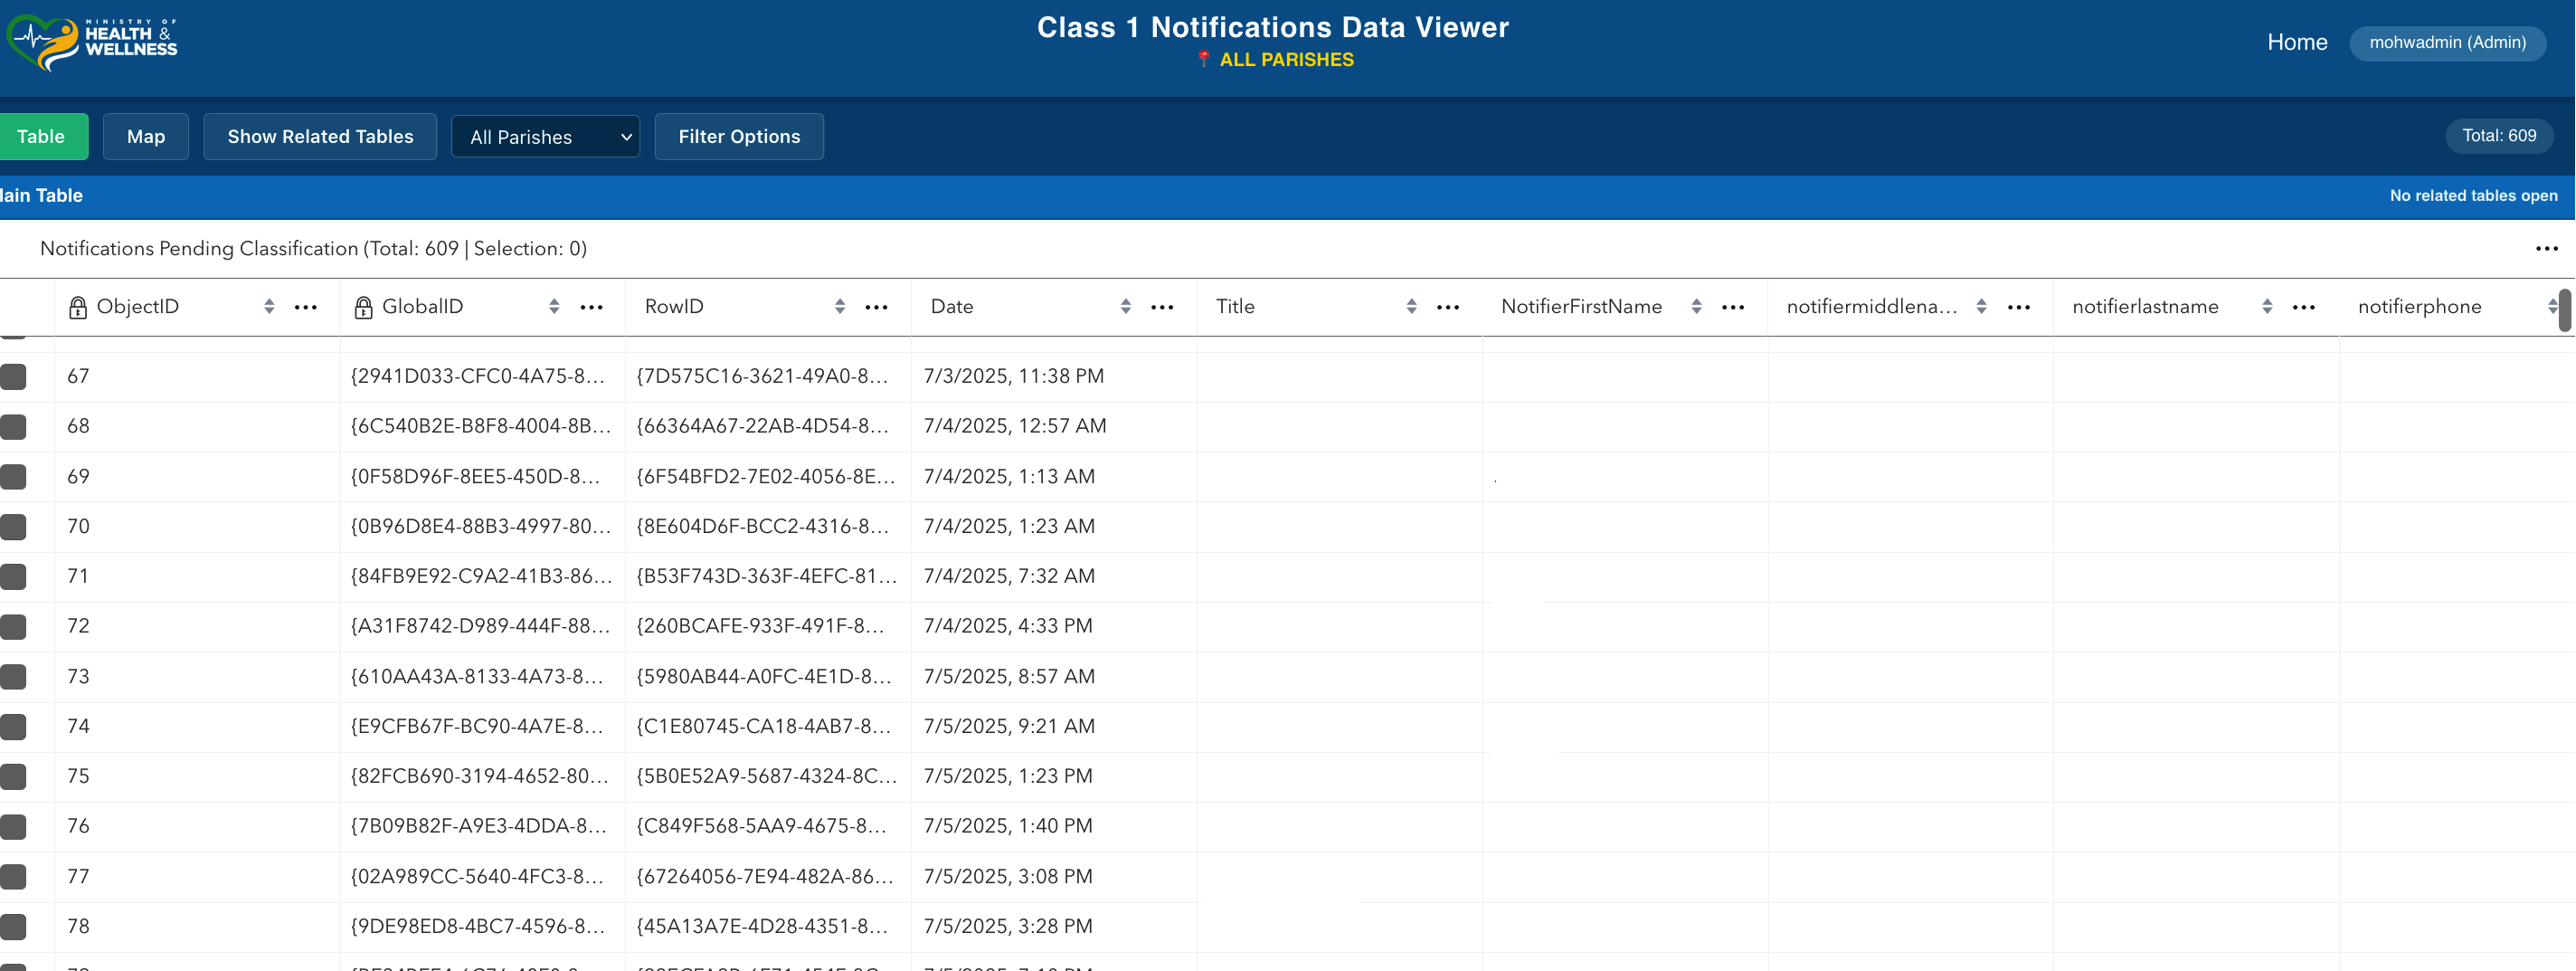
Exercise 5. Reviewing Parish Surveillance Data
The system also allows officers to review detailed information about notifications and case investigations within their parish.
- The Parish Notifications Data tool allows officers to review all notifications submitted to the parish.
- The Parish Case Investigation Data tool displays investigation records associated with parish notifications.
These tools allow surveillance officers to monitor surveillance activity within their jurisdiction.
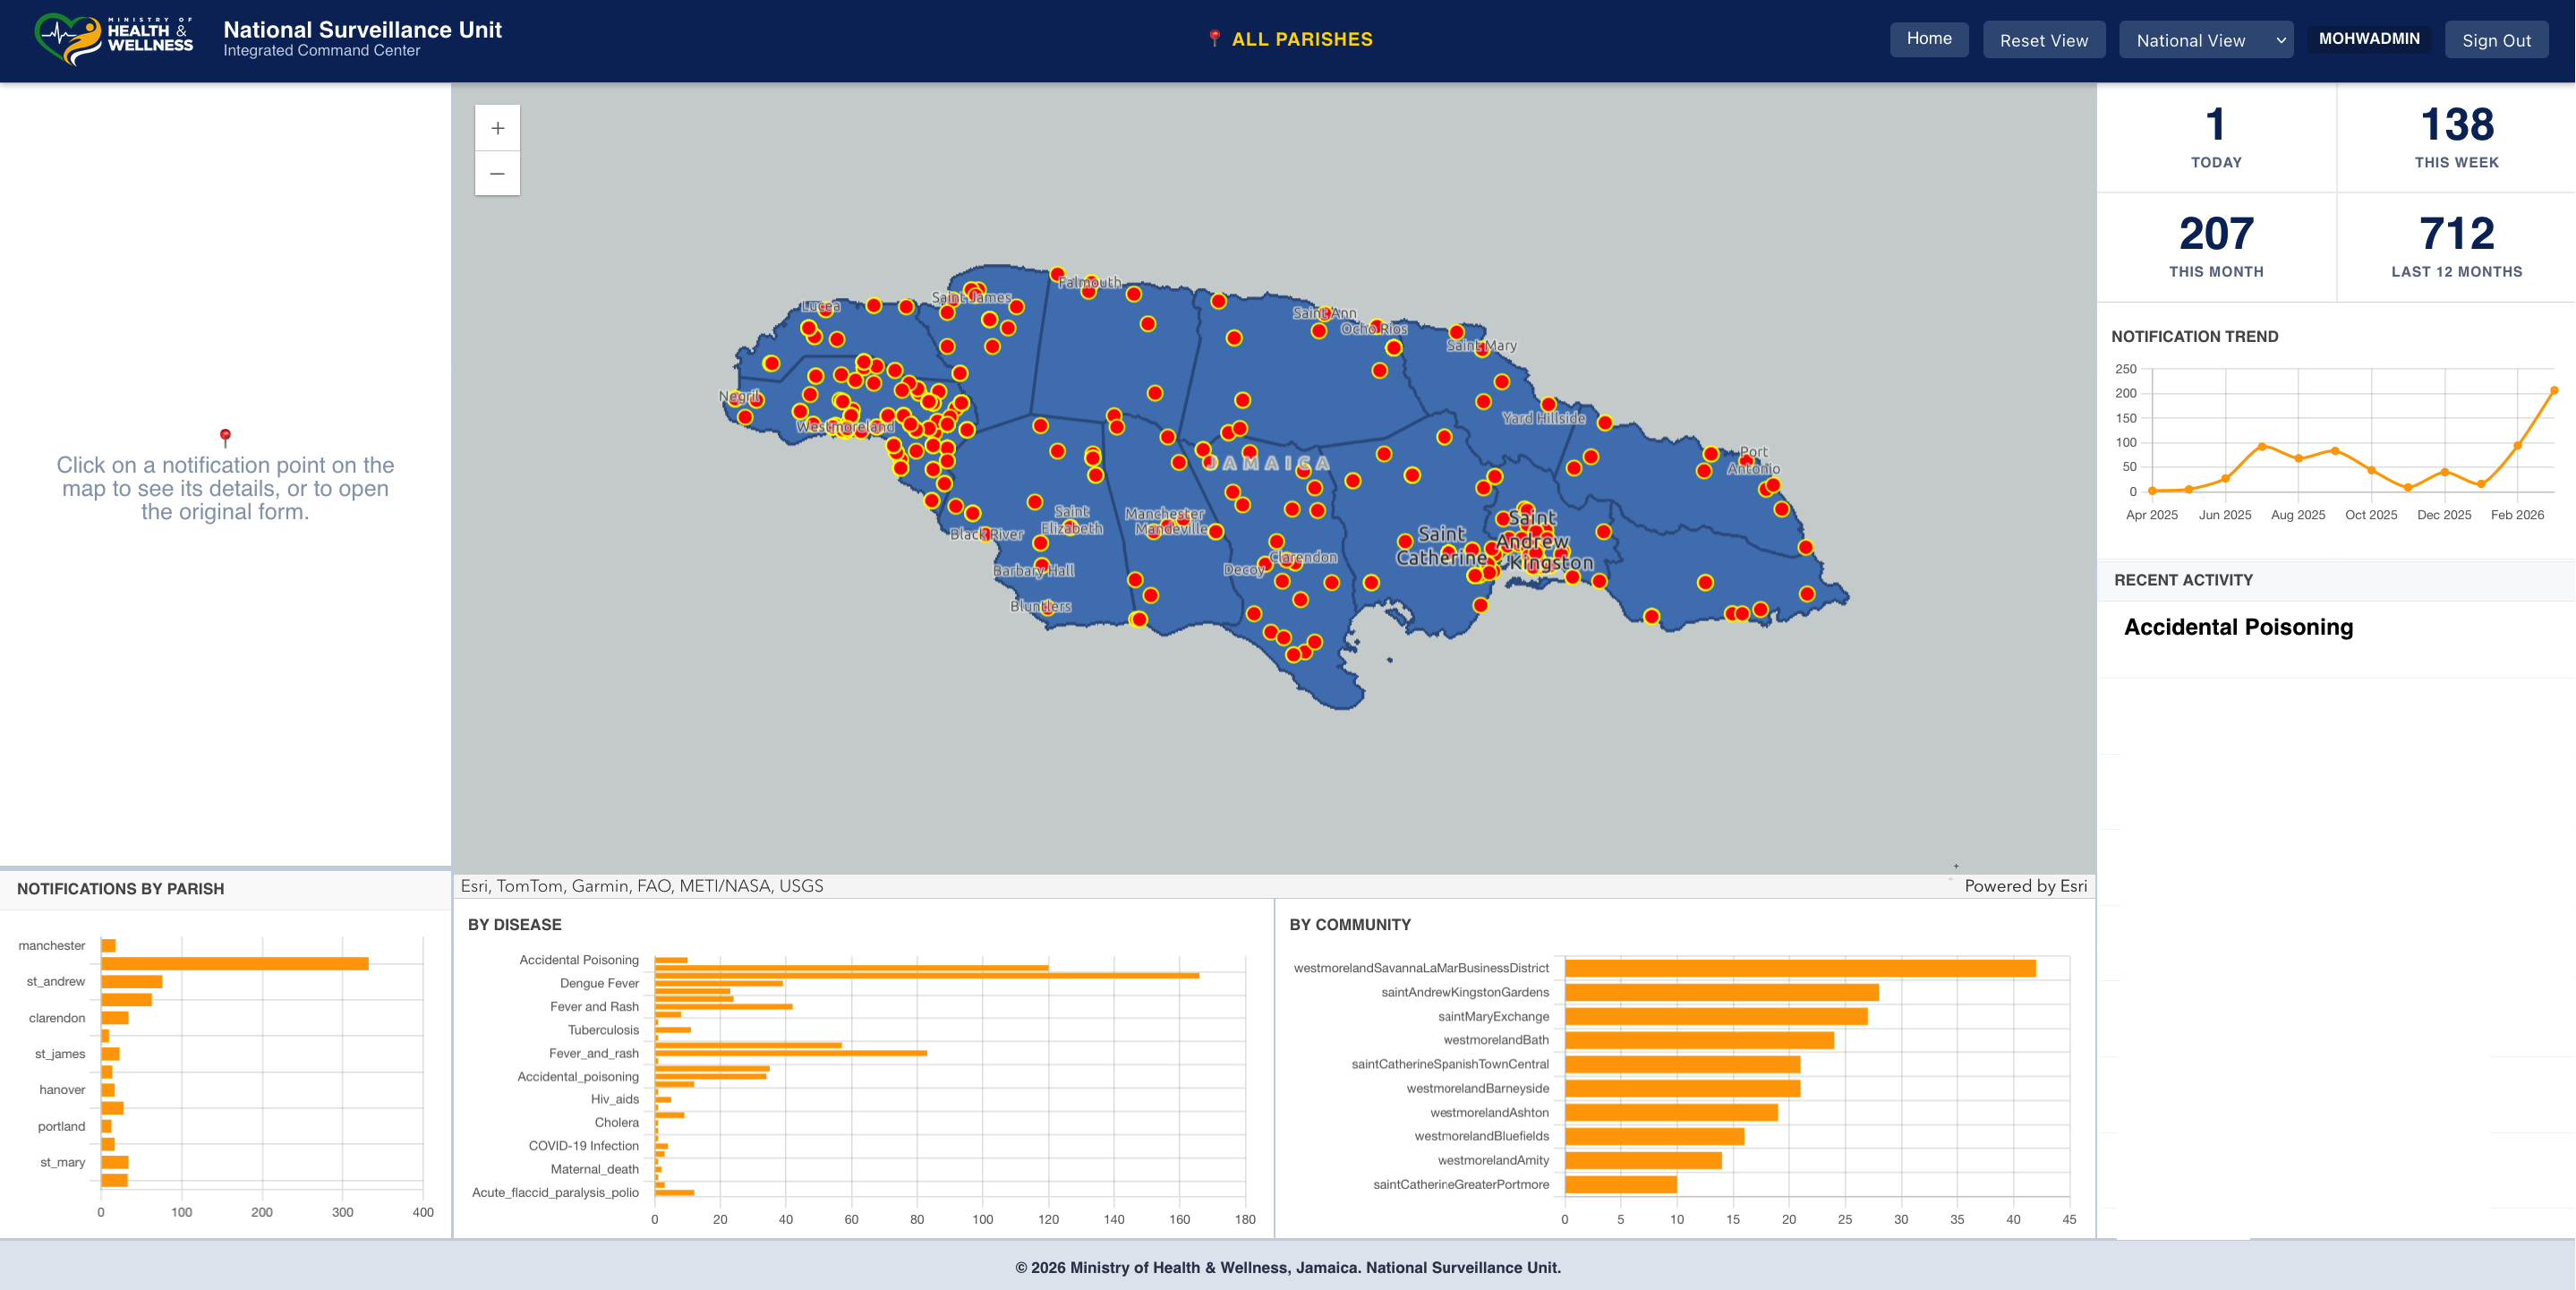
Exercise 6. Using Surveillance Dashboards
Dashboards provide visual summaries of surveillance data.
Class 1 Notifications Dashboard
Displays trends and patterns in disease notifications.
Case Investigation Dashboards
Displays investigation activity and investigation completion status.
These dashboards help surveillance officers quickly identify unusual patterns in disease activity.
Operational Importance
Parish Surveillance Officers play a critical role in ensuring that disease notifications are properly reviewed and investigated. By monitoring notifications, investigations, and surveillance dashboards, these officers help ensure that potential public health threats are identified and addressed promptly. Their work ensures that the surveillance system remains accurate, responsive, and effective in protecting public health.
Detailed Workflow Procedures
Procedure: How to Approve a Notification
The notification approval app is used by Parish Surveillance Officers to review edited notifications and determine whether they are complete and acceptable for the next stage in the surveillance workflow.
Step 1: Open the App. Open the approval app in your browser.
Step 2: Sign In. Enter credentials. Verify your name appears in the header.
Step 3: Review Interface. Focus on the table and available filters.
Step 4: Find Notification. Locate records ready for review. Confirm parish scope.
Step 5: Examine Thoroughly. Check demographics, disease info, and consistency. Review related tables.
Step 6: Decide. Only approve if complete and satisfactory.
Step 7: Approve. Use the status field to mark as Approved. Save changes.
Step 8: Confirm Result. Ensure the record updated or moved to the correct filtered view.
Step 9: Repeat. Continue reviewing records one by one. Avoid rushing.
Step 10: Sign Out. Securely exit the session.
Good Practice Note: Approval is not just a button click. It is a quality-control step. Take the time to confirm that the edited notification is suitable for the next stage.
Procedure: How to Generate a Line Listing
Step 1: Open App. Launch the Line Listing or Data View app.
Step 2: Sign In. Confirm account name appears in the header.
Step 3: Review Table. Inspect visible columns and existing records.
Step 4: Apply Filters. Narrow dataset by disease, date range, or parish.
Step 5: Verify. Ensure the count and content align with expectations.
Step 6: Export. Export or use the resulting line listing once verified.
Step 7: Clear Filters. Reset for the next subset if needed.
Step 8: Sign Out. Close the app securely.
Procedure: Viewing Parish Notifications
Step 1-2: Open Data View app and Sign In.
Step 3: Main Table. Review total count and visible rows.
Step 4: Parish Selector. If applicable, narrow to your specific parish.
Step 5: Filter. Use criteria like diagnosis or date range.
Step 6: Select Record. Inspect specific rows in detail.
Step 7: Related Tables. Check travel, symptoms, or vaccination data.
Step 8: Map View. Switch to map to visualize location.
Step 9-10: Clear selection and Sign Out securely.