Public Health Nurses Tutorials
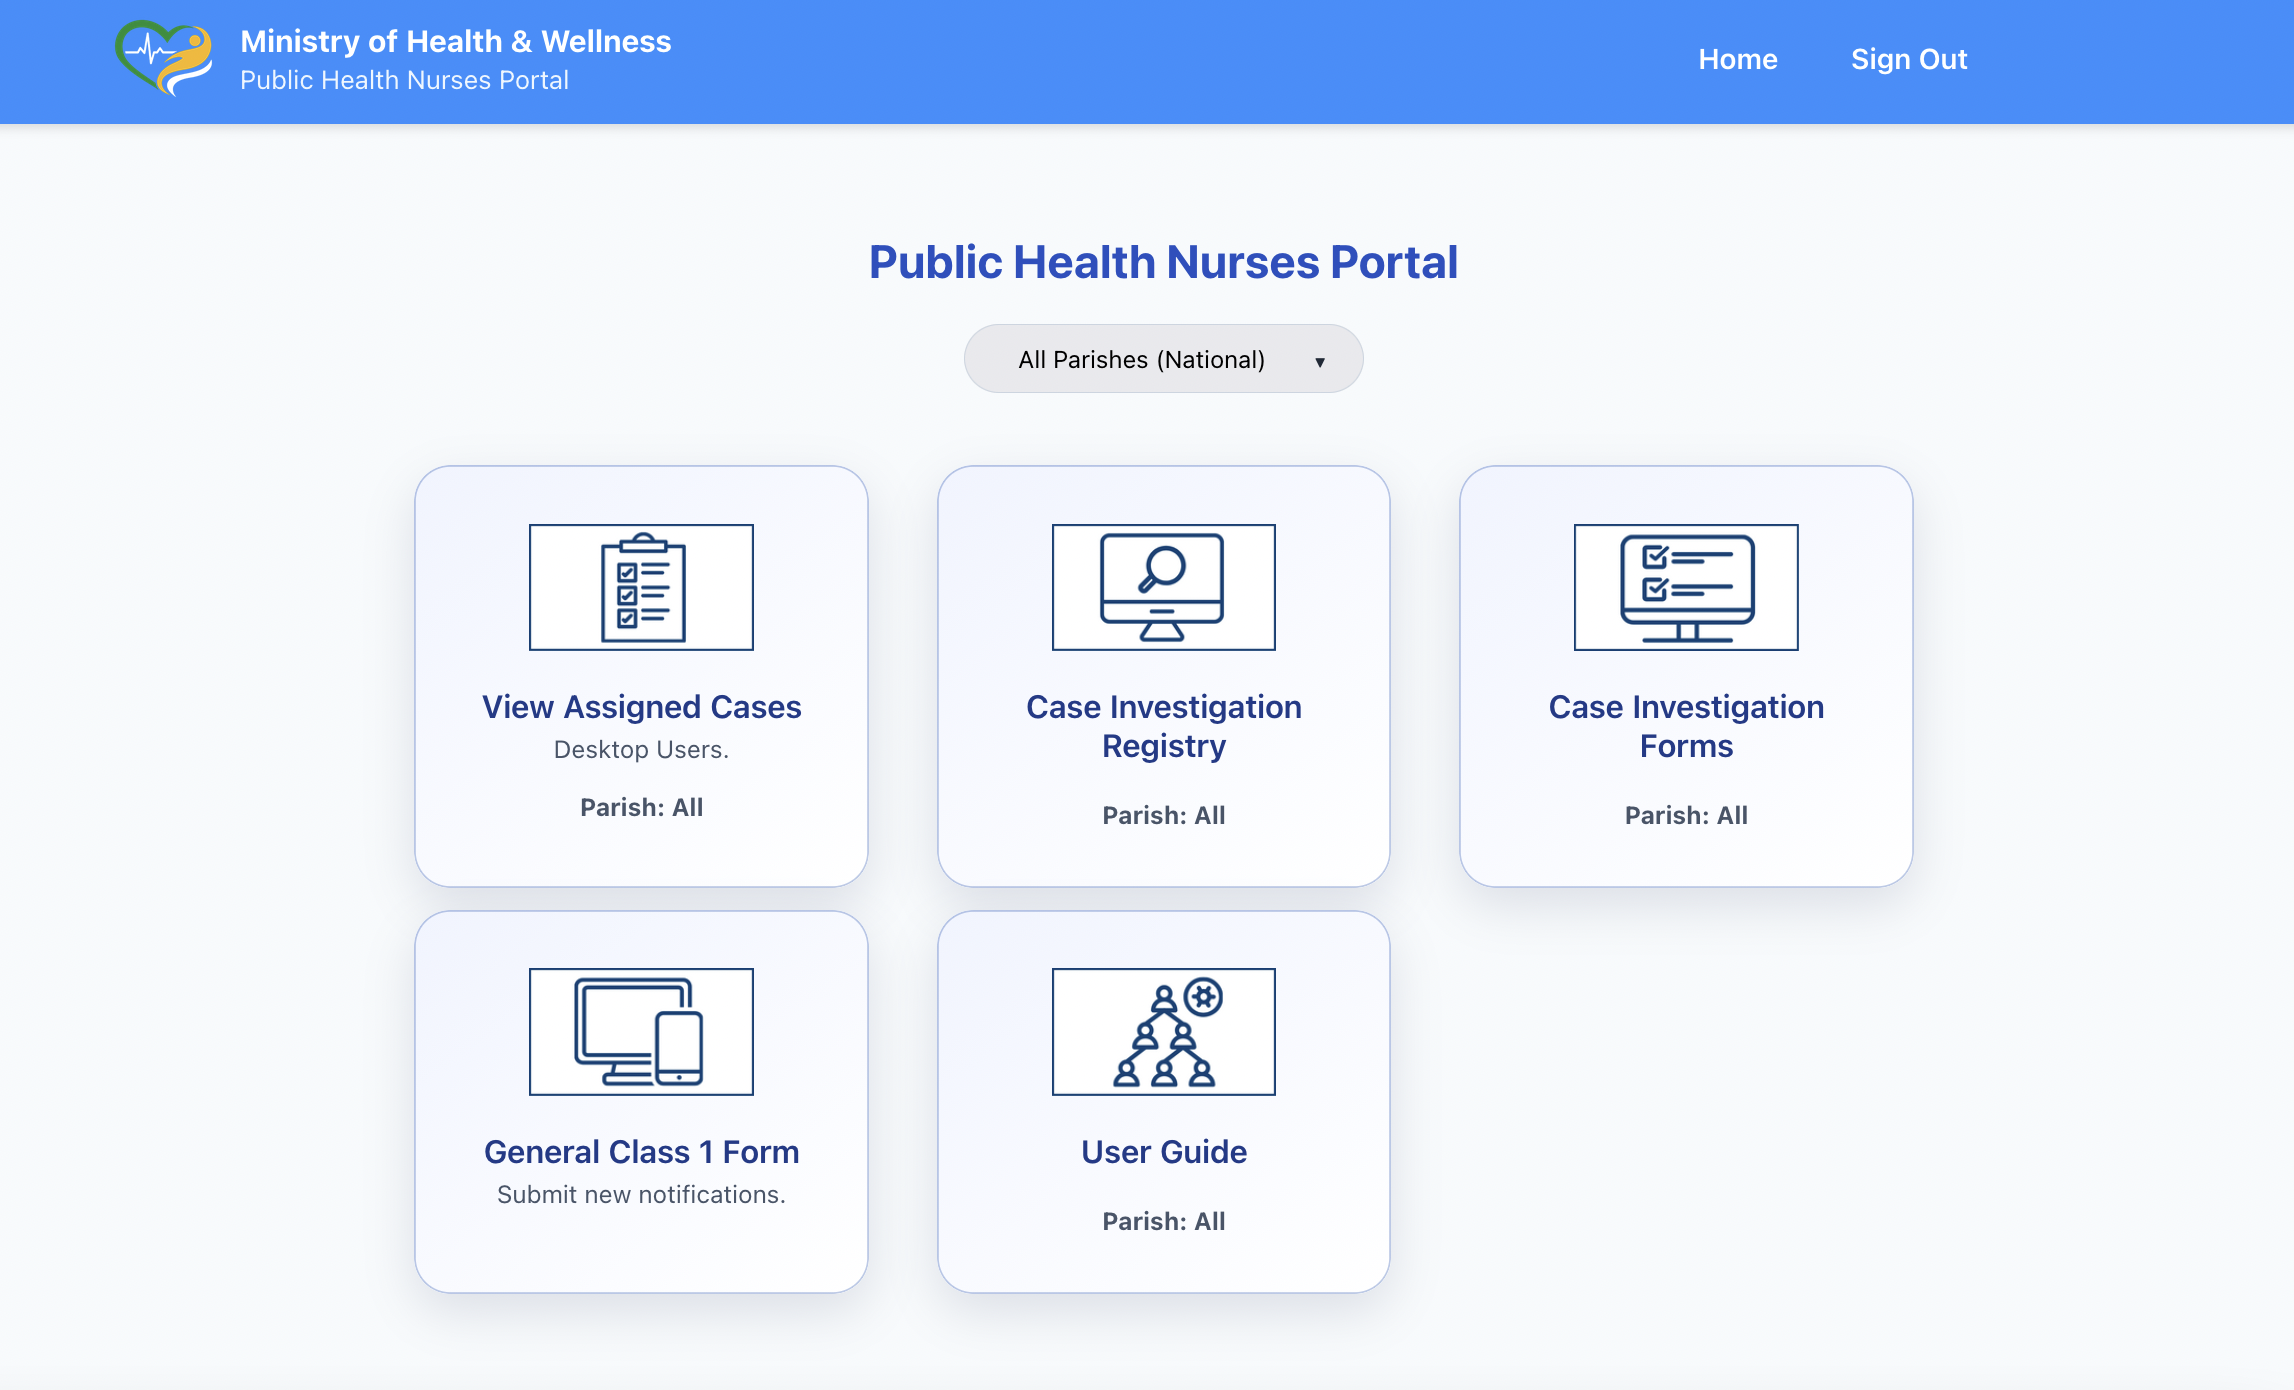
Public Health Nurses use this portal to review the cases assigned to them, check whether case investigation records already exist, submit new investigation forms, and enter general Class 1 notifications when necessary. The exercises below provide guided practice in the main tasks carried out in the portal.
Before You Begin
This training page is available only to authorized users. If you are viewing this page and your name appears in the header, you have already signed in successfully. You may now proceed with the exercises below.
Exercise 1. View Assigned Cases
Objective: Review the cases that have been assigned to you and identify which case should be worked on next.
Scenario: You begin your workday and need to see whether any new case investigations have been assigned to you. Some cases may be routine, while others may be marked as urgent or high priority. Before starting fieldwork or entering information into a form, you need to open the assigned cases app, review the list, and understand which patients require follow-up. This app is the main starting point for your work because it shows the cases that were dispatched to you and helps you decide what to do next.
Steps
-
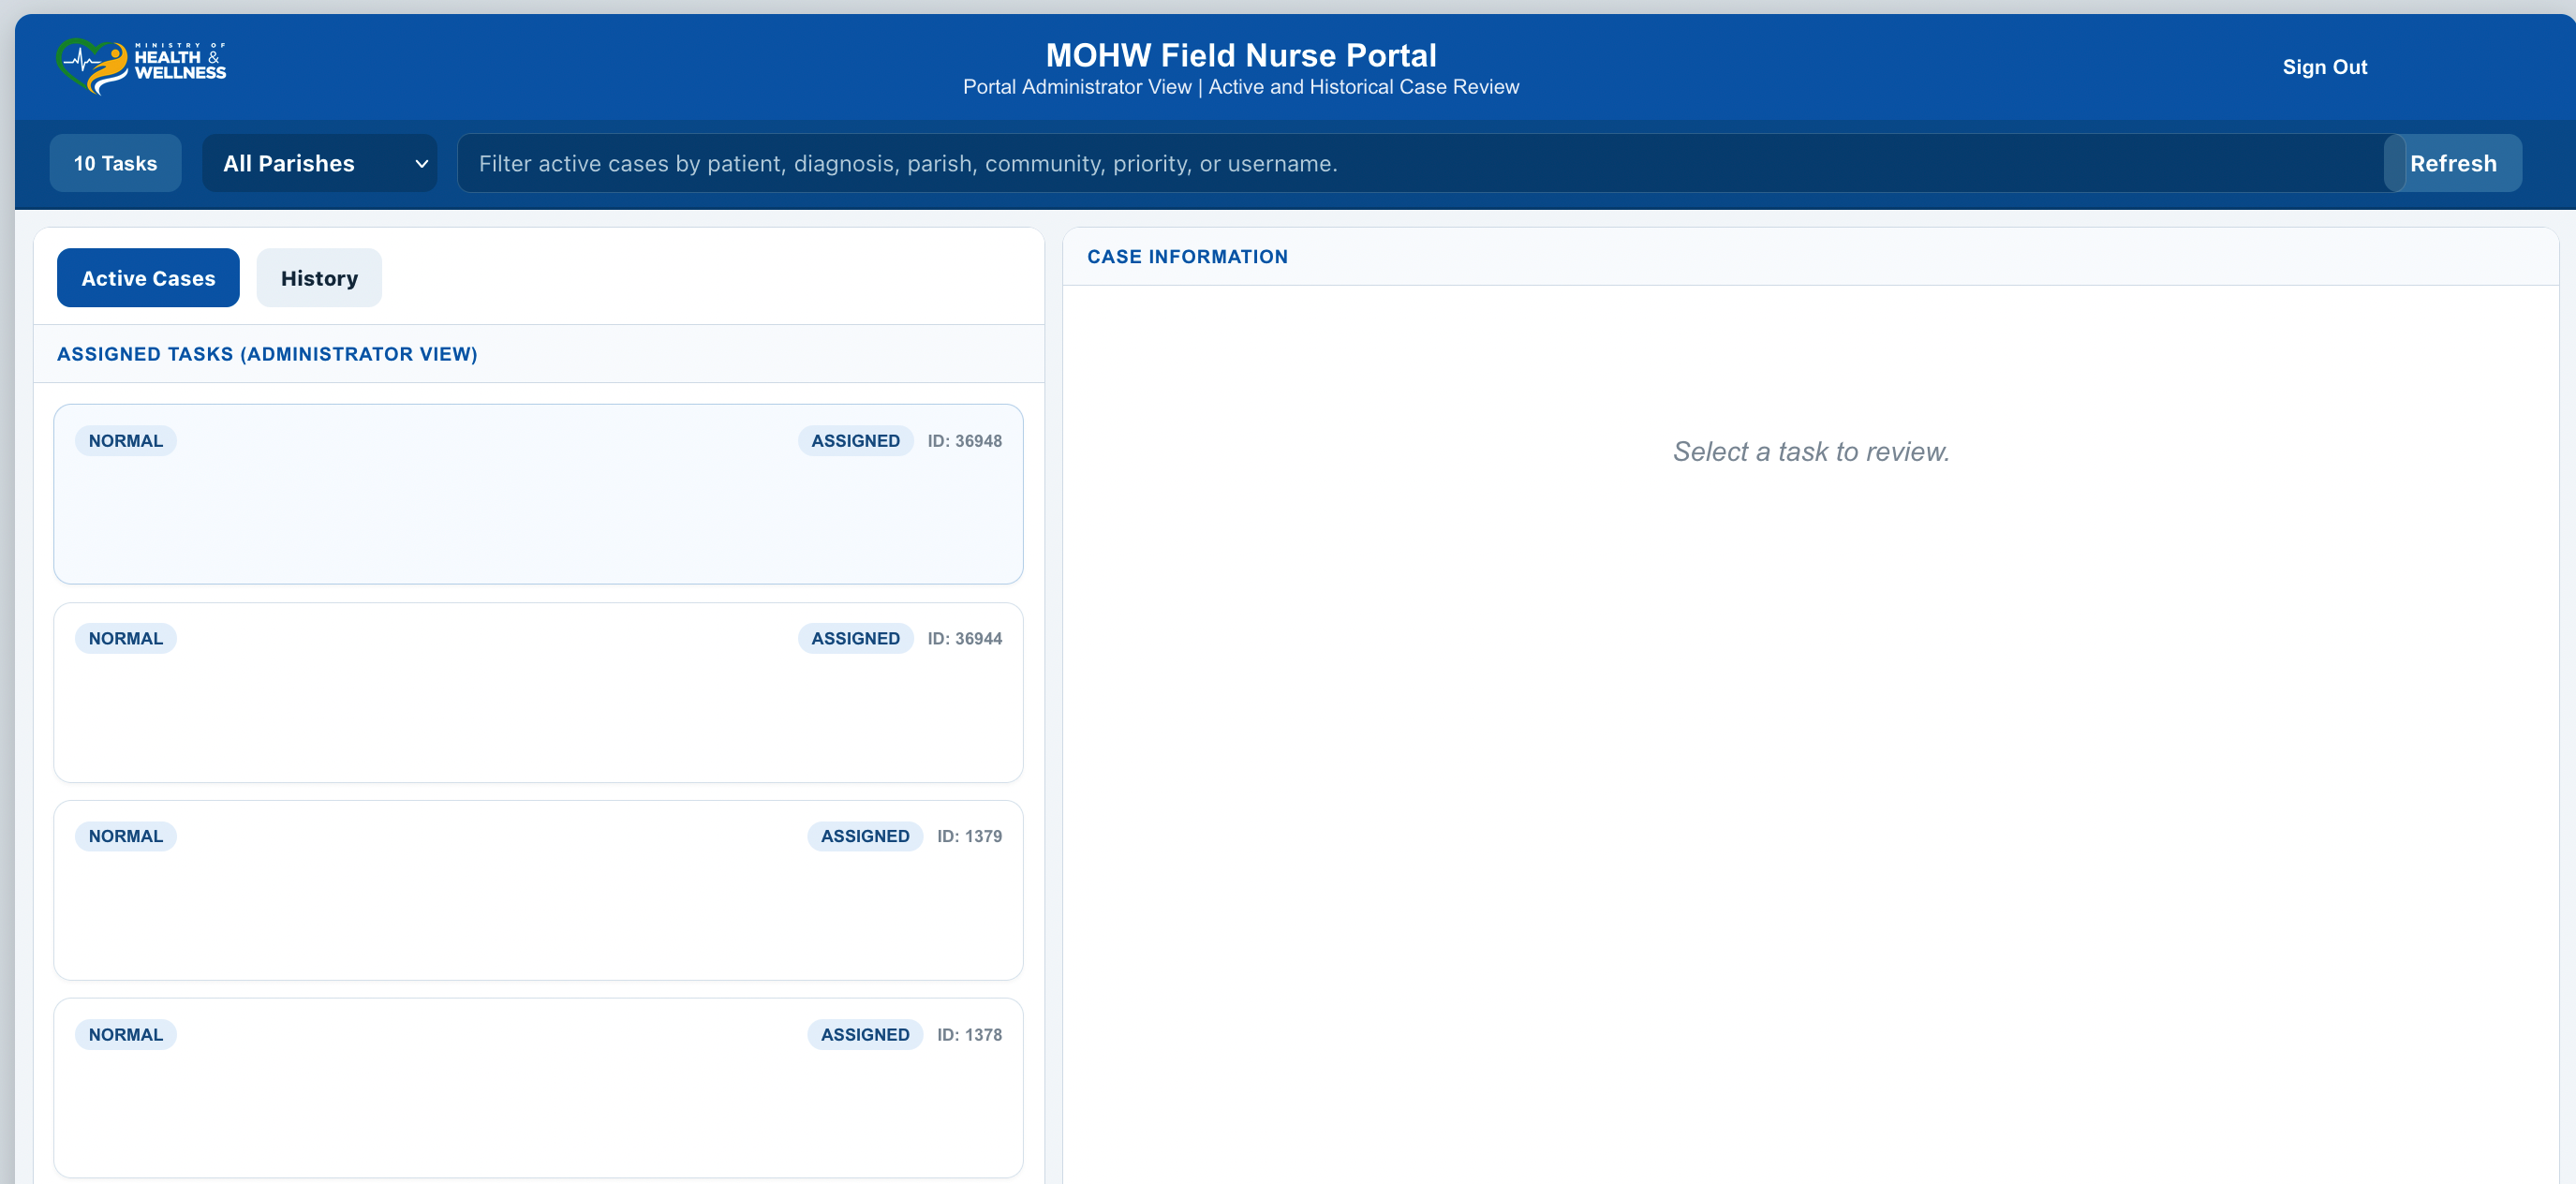
From the portal home page, click the View Assigned Cases card.
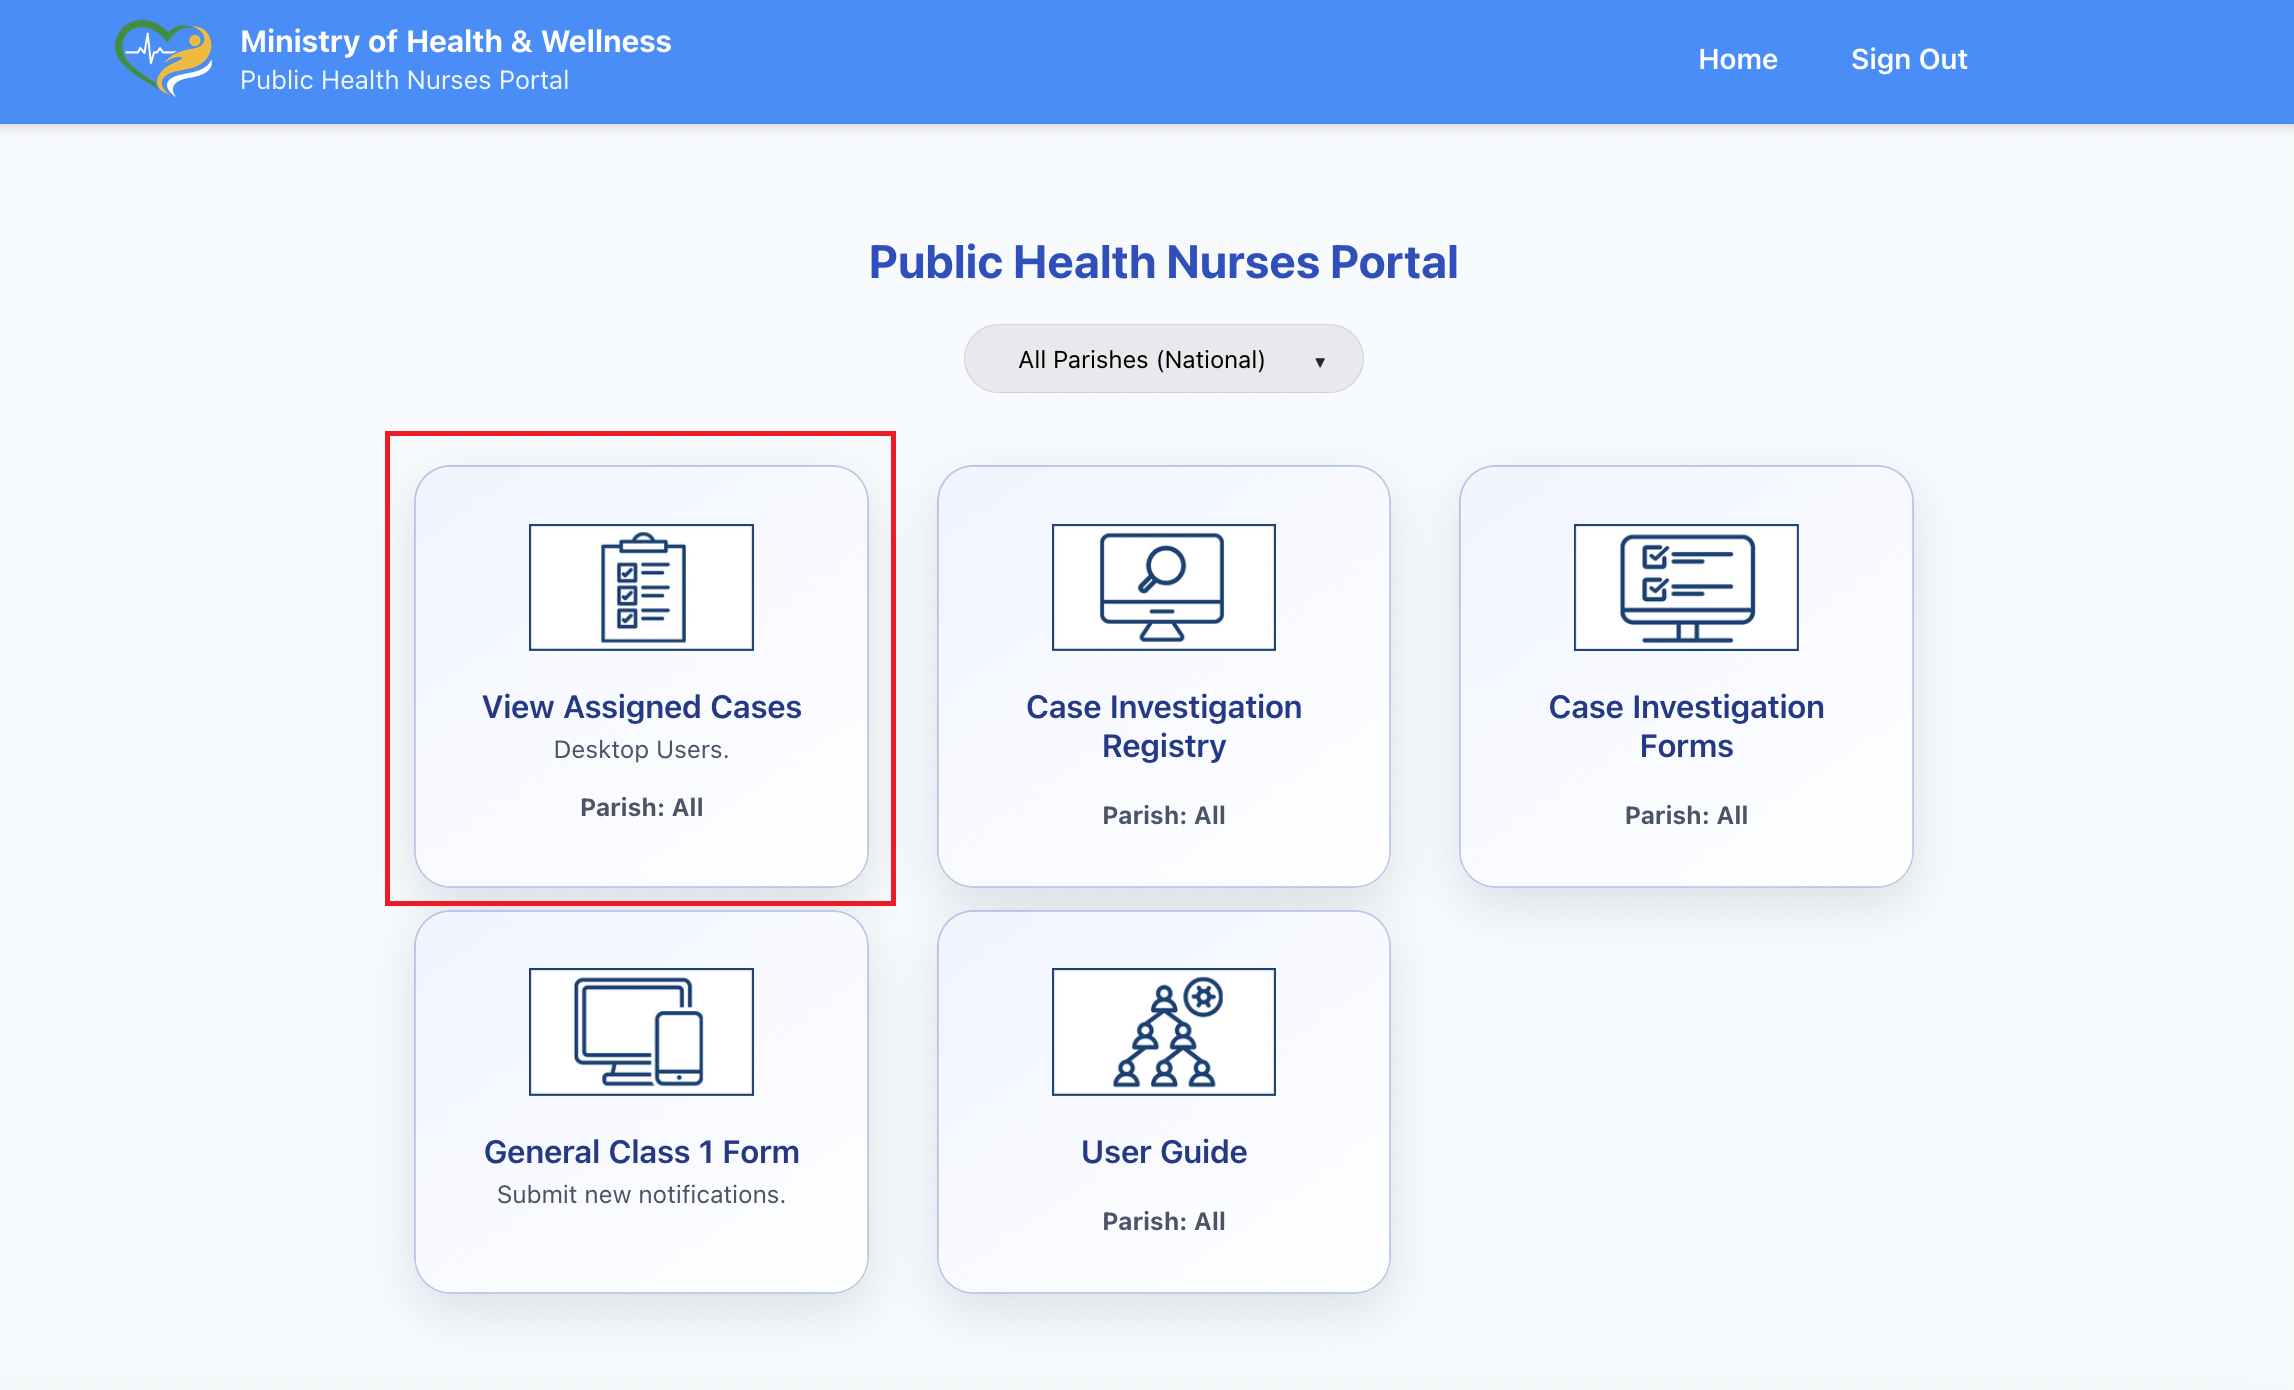
- The assigned cases app opens.
- Review the cases shown in your queue.
- Examine the information provided for each case, including patient name, disease, parish, and priority if shown.
- Determine which case you should work on first.
- Select the case to view additional details.Additional details will appear in the right panel.
- At the botton of the right panel, click "Begin a Case" to start a case investigation.
- When you are done with the case, click "Report Case as Completed". This will move inform the SPHN that the case has been completed
- Click on the History tab. Details of the cases you completed are stored here for your record.
- Click Sign out when you are done with the portal.
Expected Result
- You can see the cases that have been assigned to you.
- You can identify which case requires follow-up.
Check Yourself
- Can you identify any new cases assigned to you?
- Can you tell which case appears most urgent?
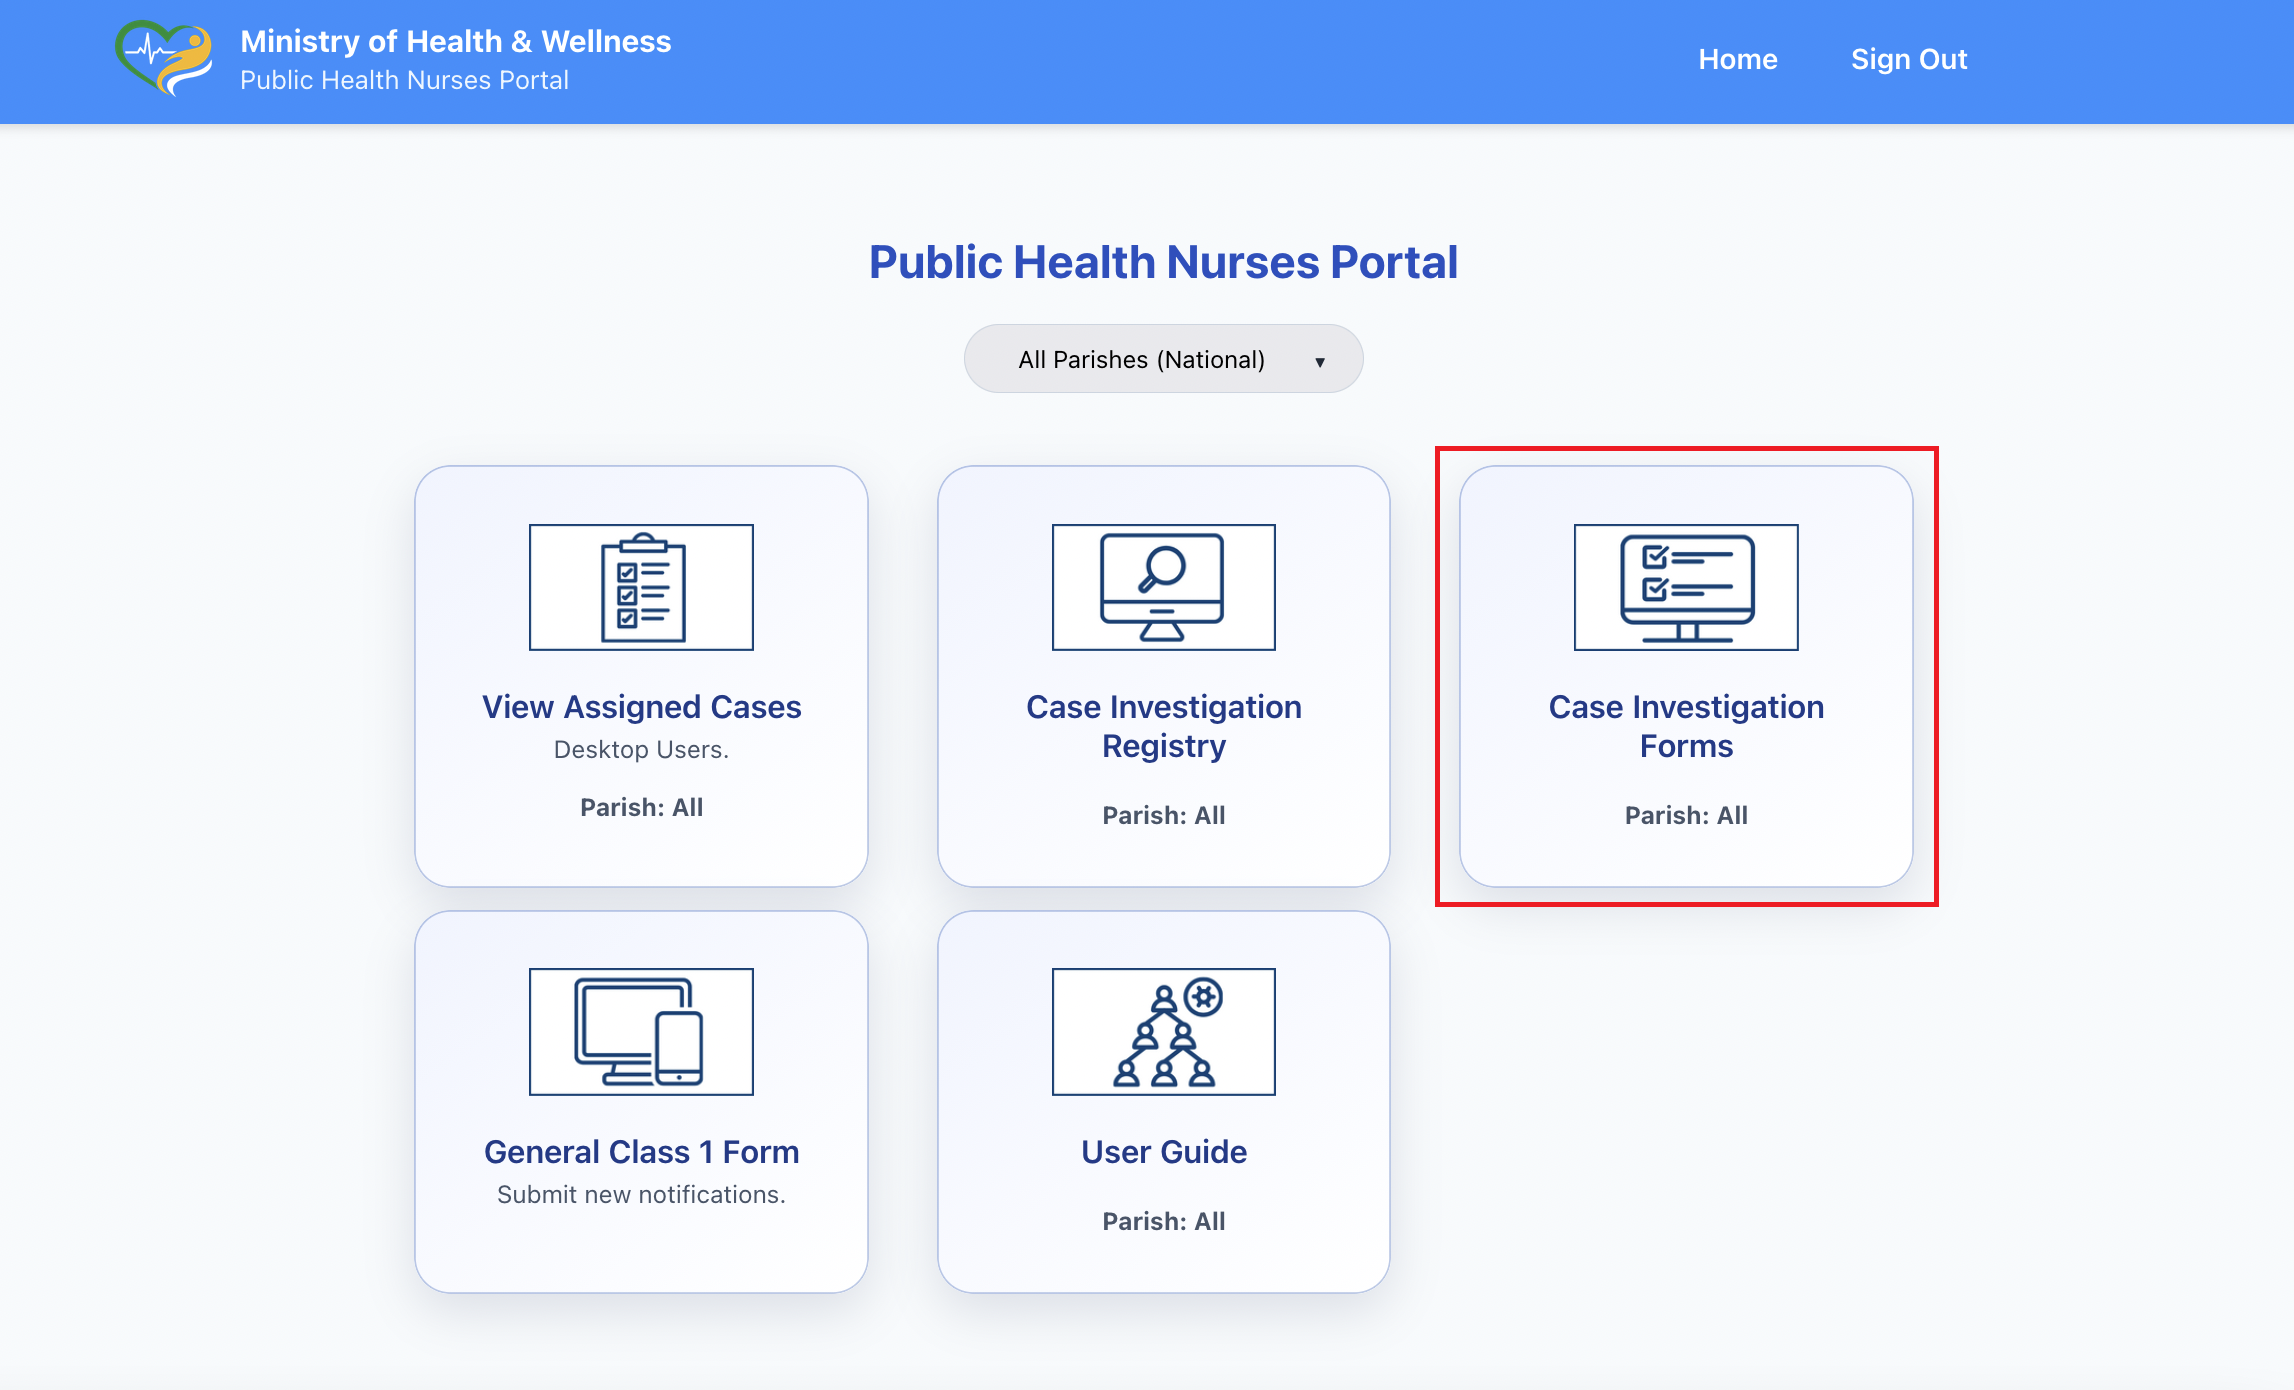
Exercise 2. Use the Case Investigation Registry
Objective: Search for and review an existing case investigation record.
Scenario: Before creating a new investigation, you may need to confirm whether a case investigation already exists for a patient. This can help prevent duplication and can also help you review previous work before continuing. For example, you may receive a patient name from your supervisor or from a health facility and need to find out whether an investigation is already on file. The registry allows you to search for existing records and review the investigation status.
Steps
-
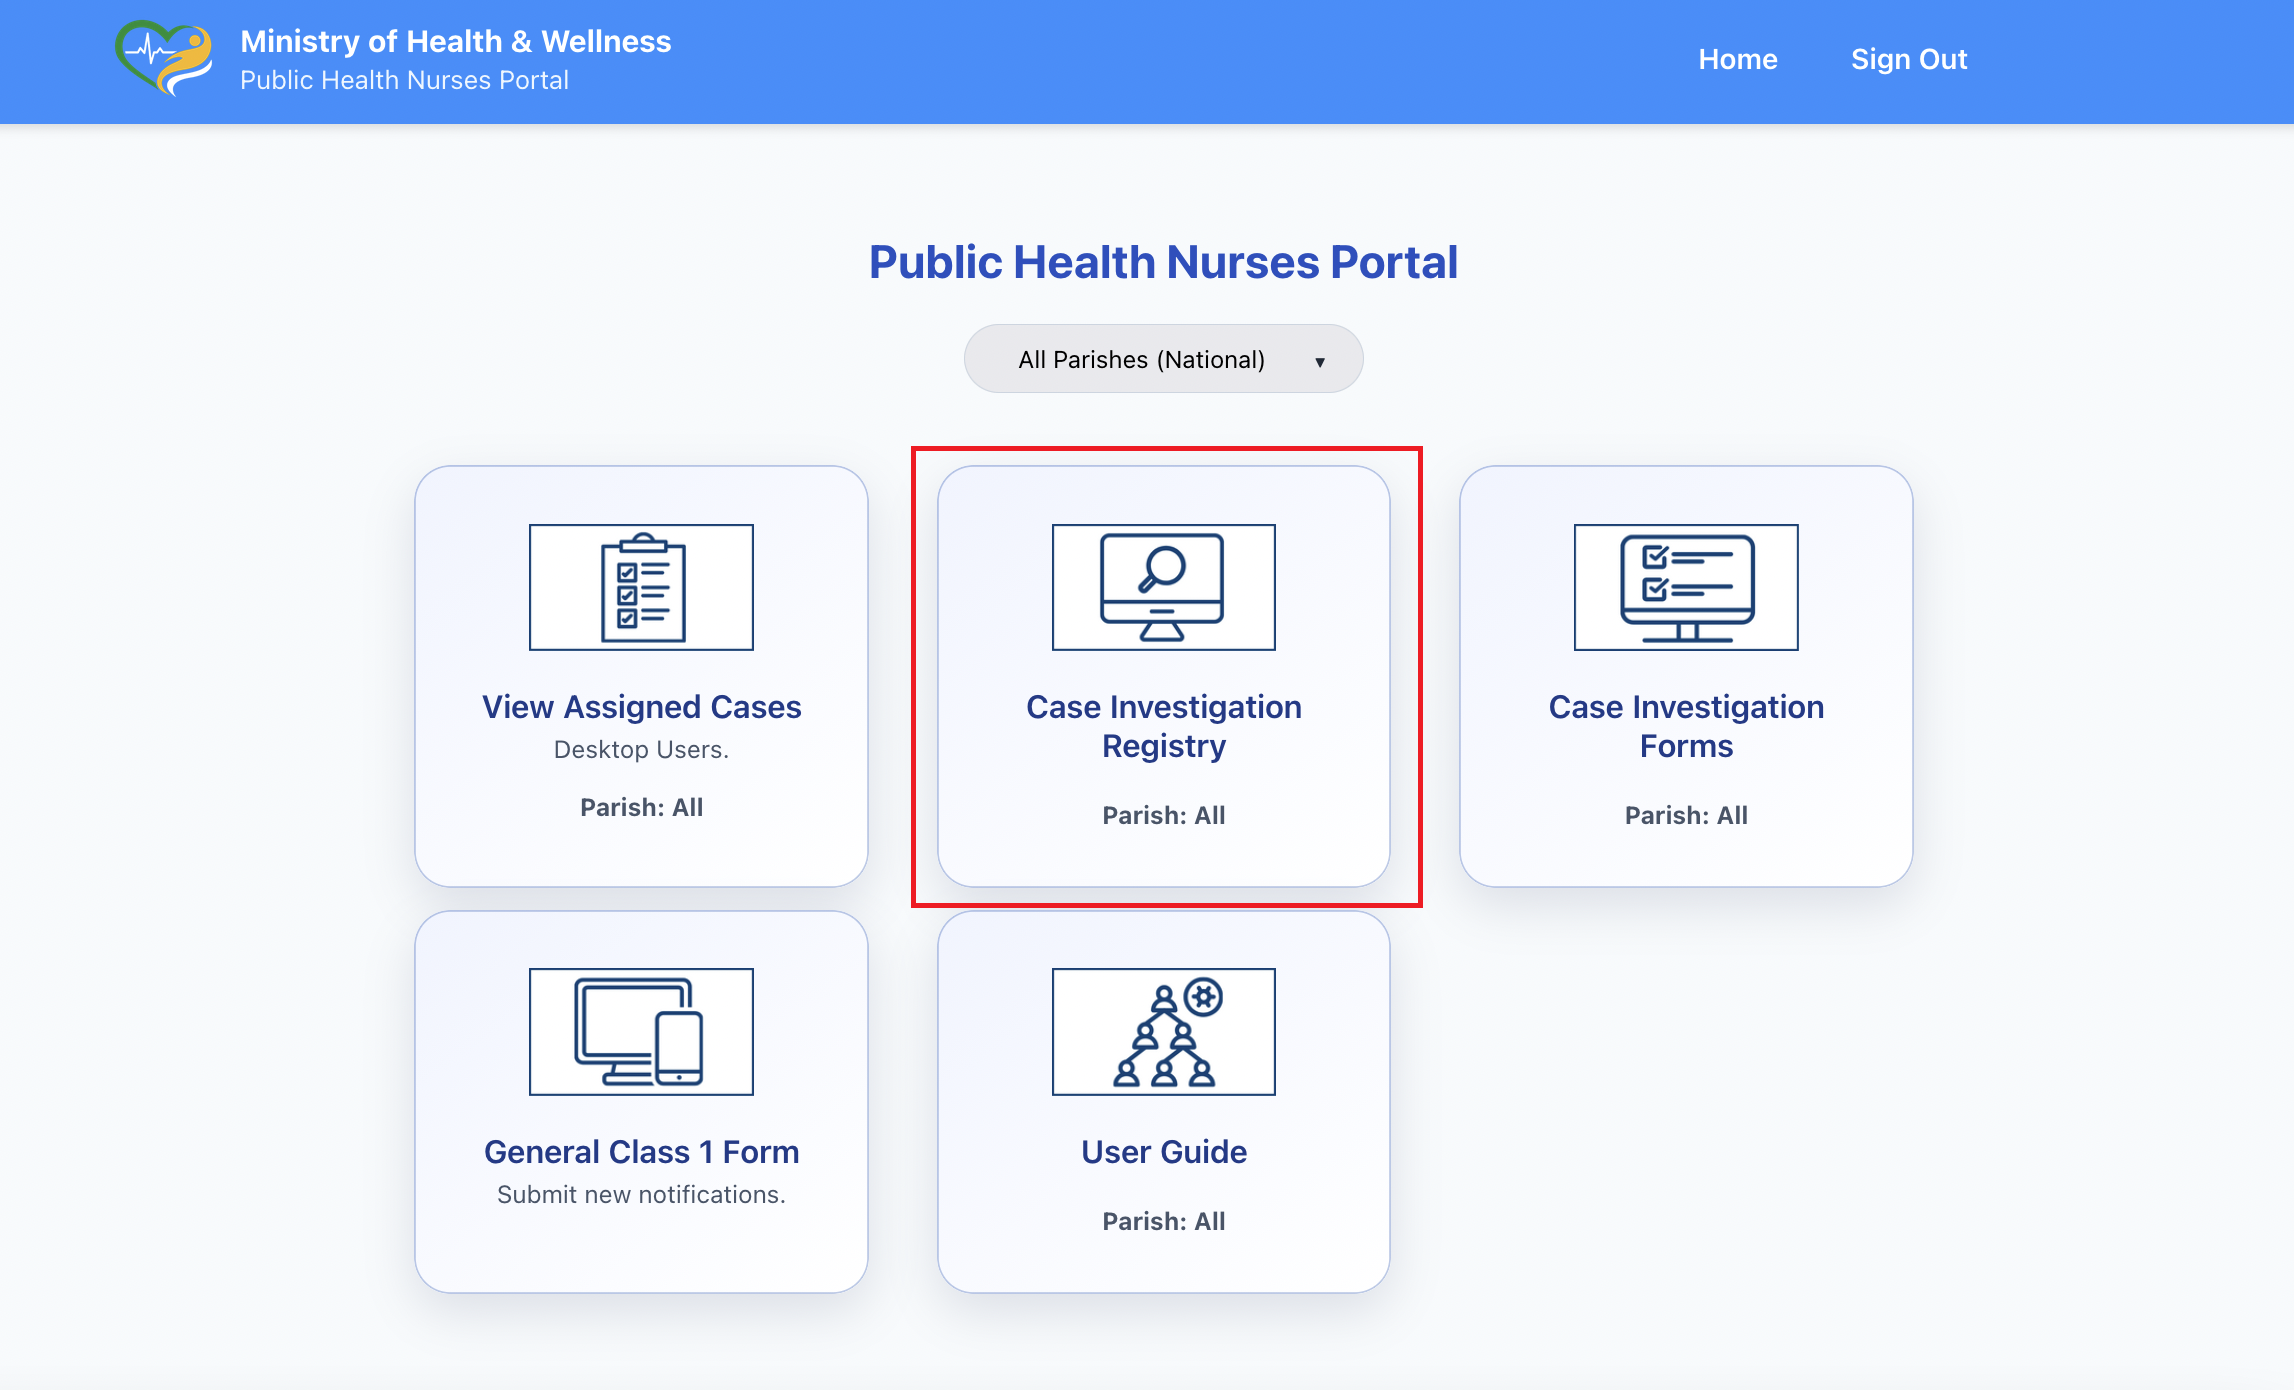
From the portal home page, click the Case Investigation Registry card.
-
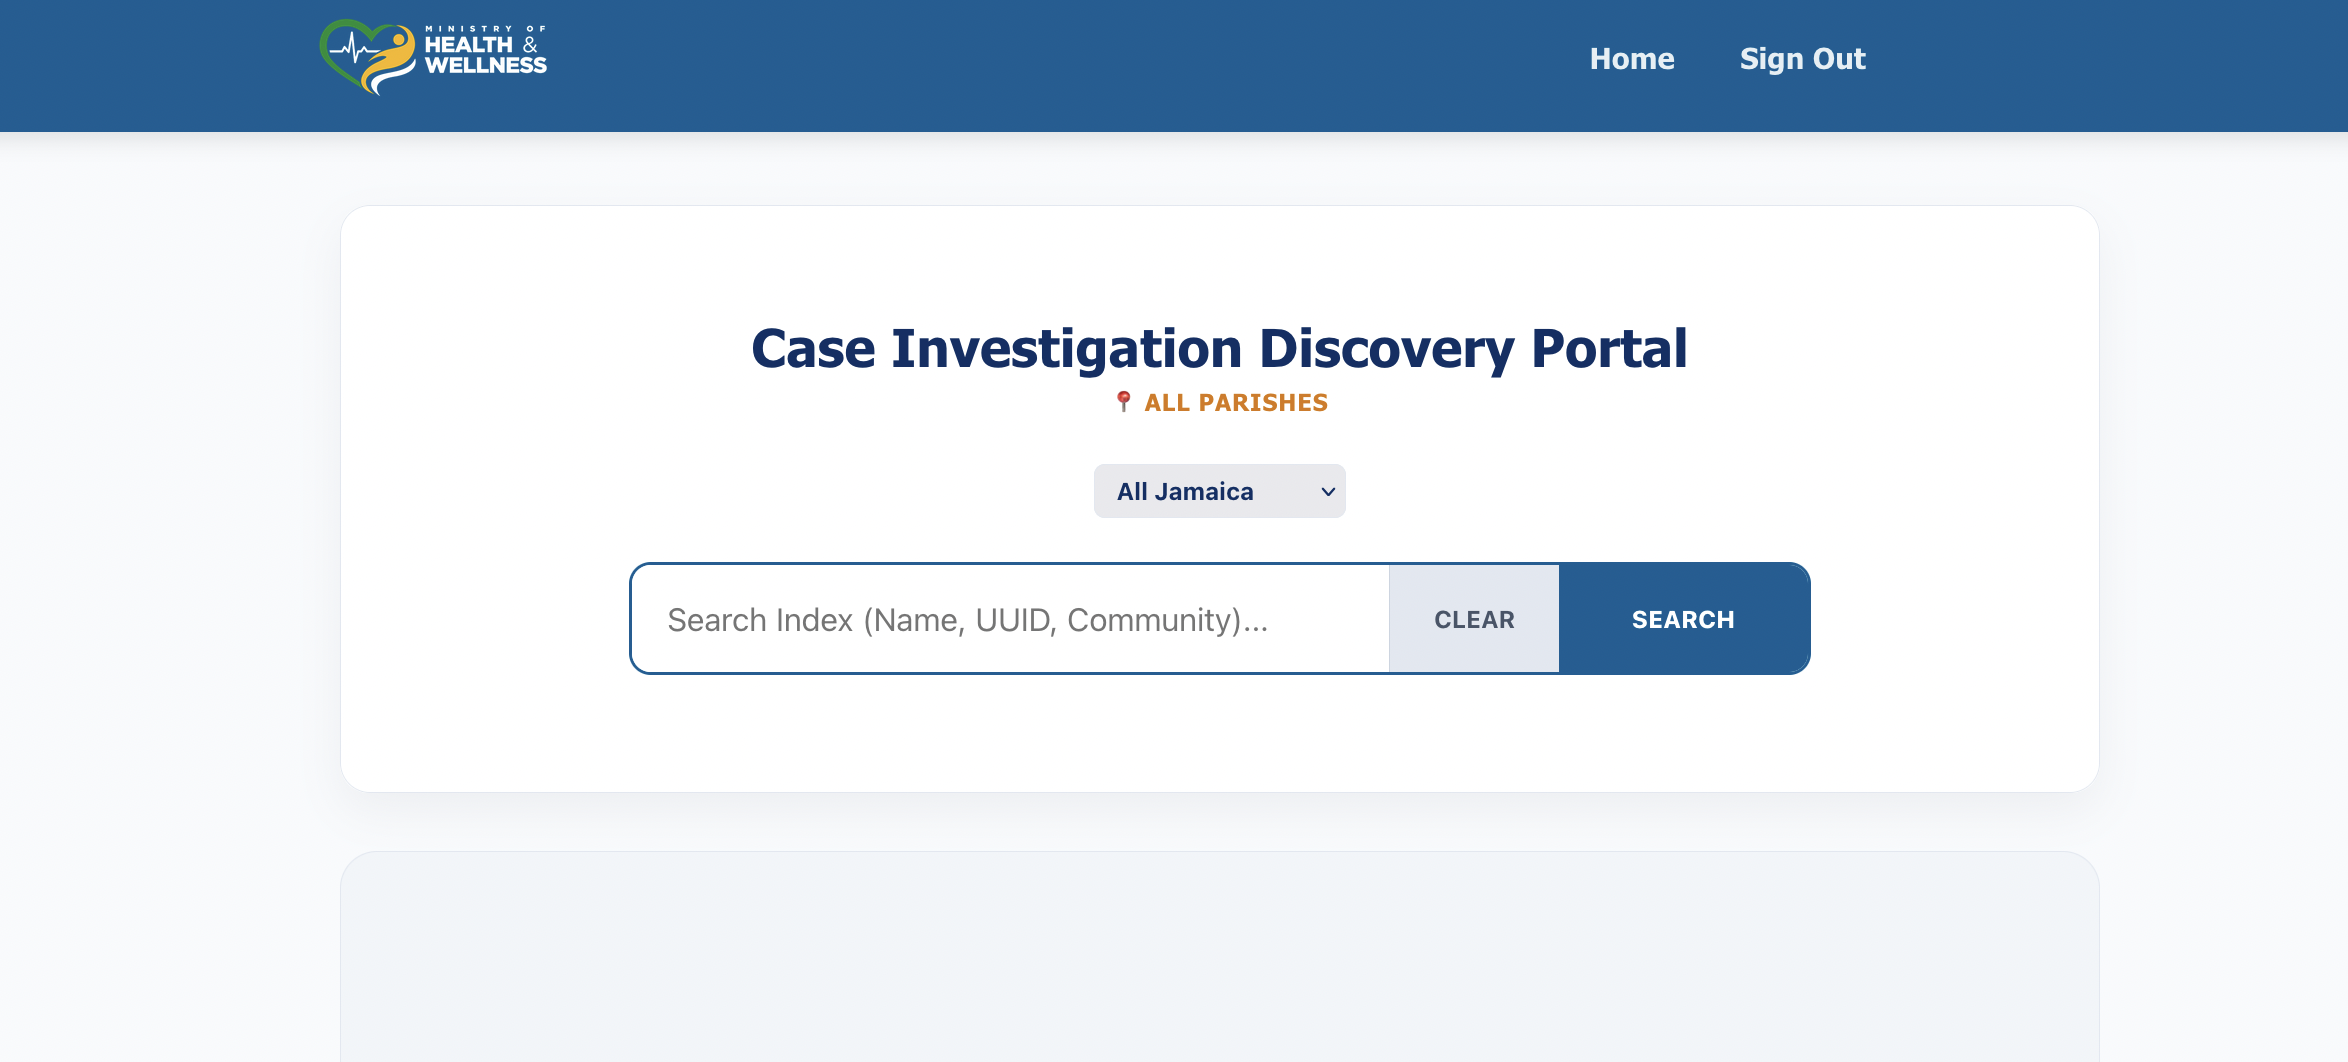
When the app opens, it should look similar to what is shown in the image below.
- Enter search criteria such as patient name, disease, or another available identifier.
- Review the results returned by the search.
- Select the correct record to view the investigation details.
Expected Result
- The correct case investigation record is located, if it exists.
- You can review the status and details of the investigation.
Check Yourself
- Were you able to determine whether an investigation already exists?
- Did you open the correct patient record?
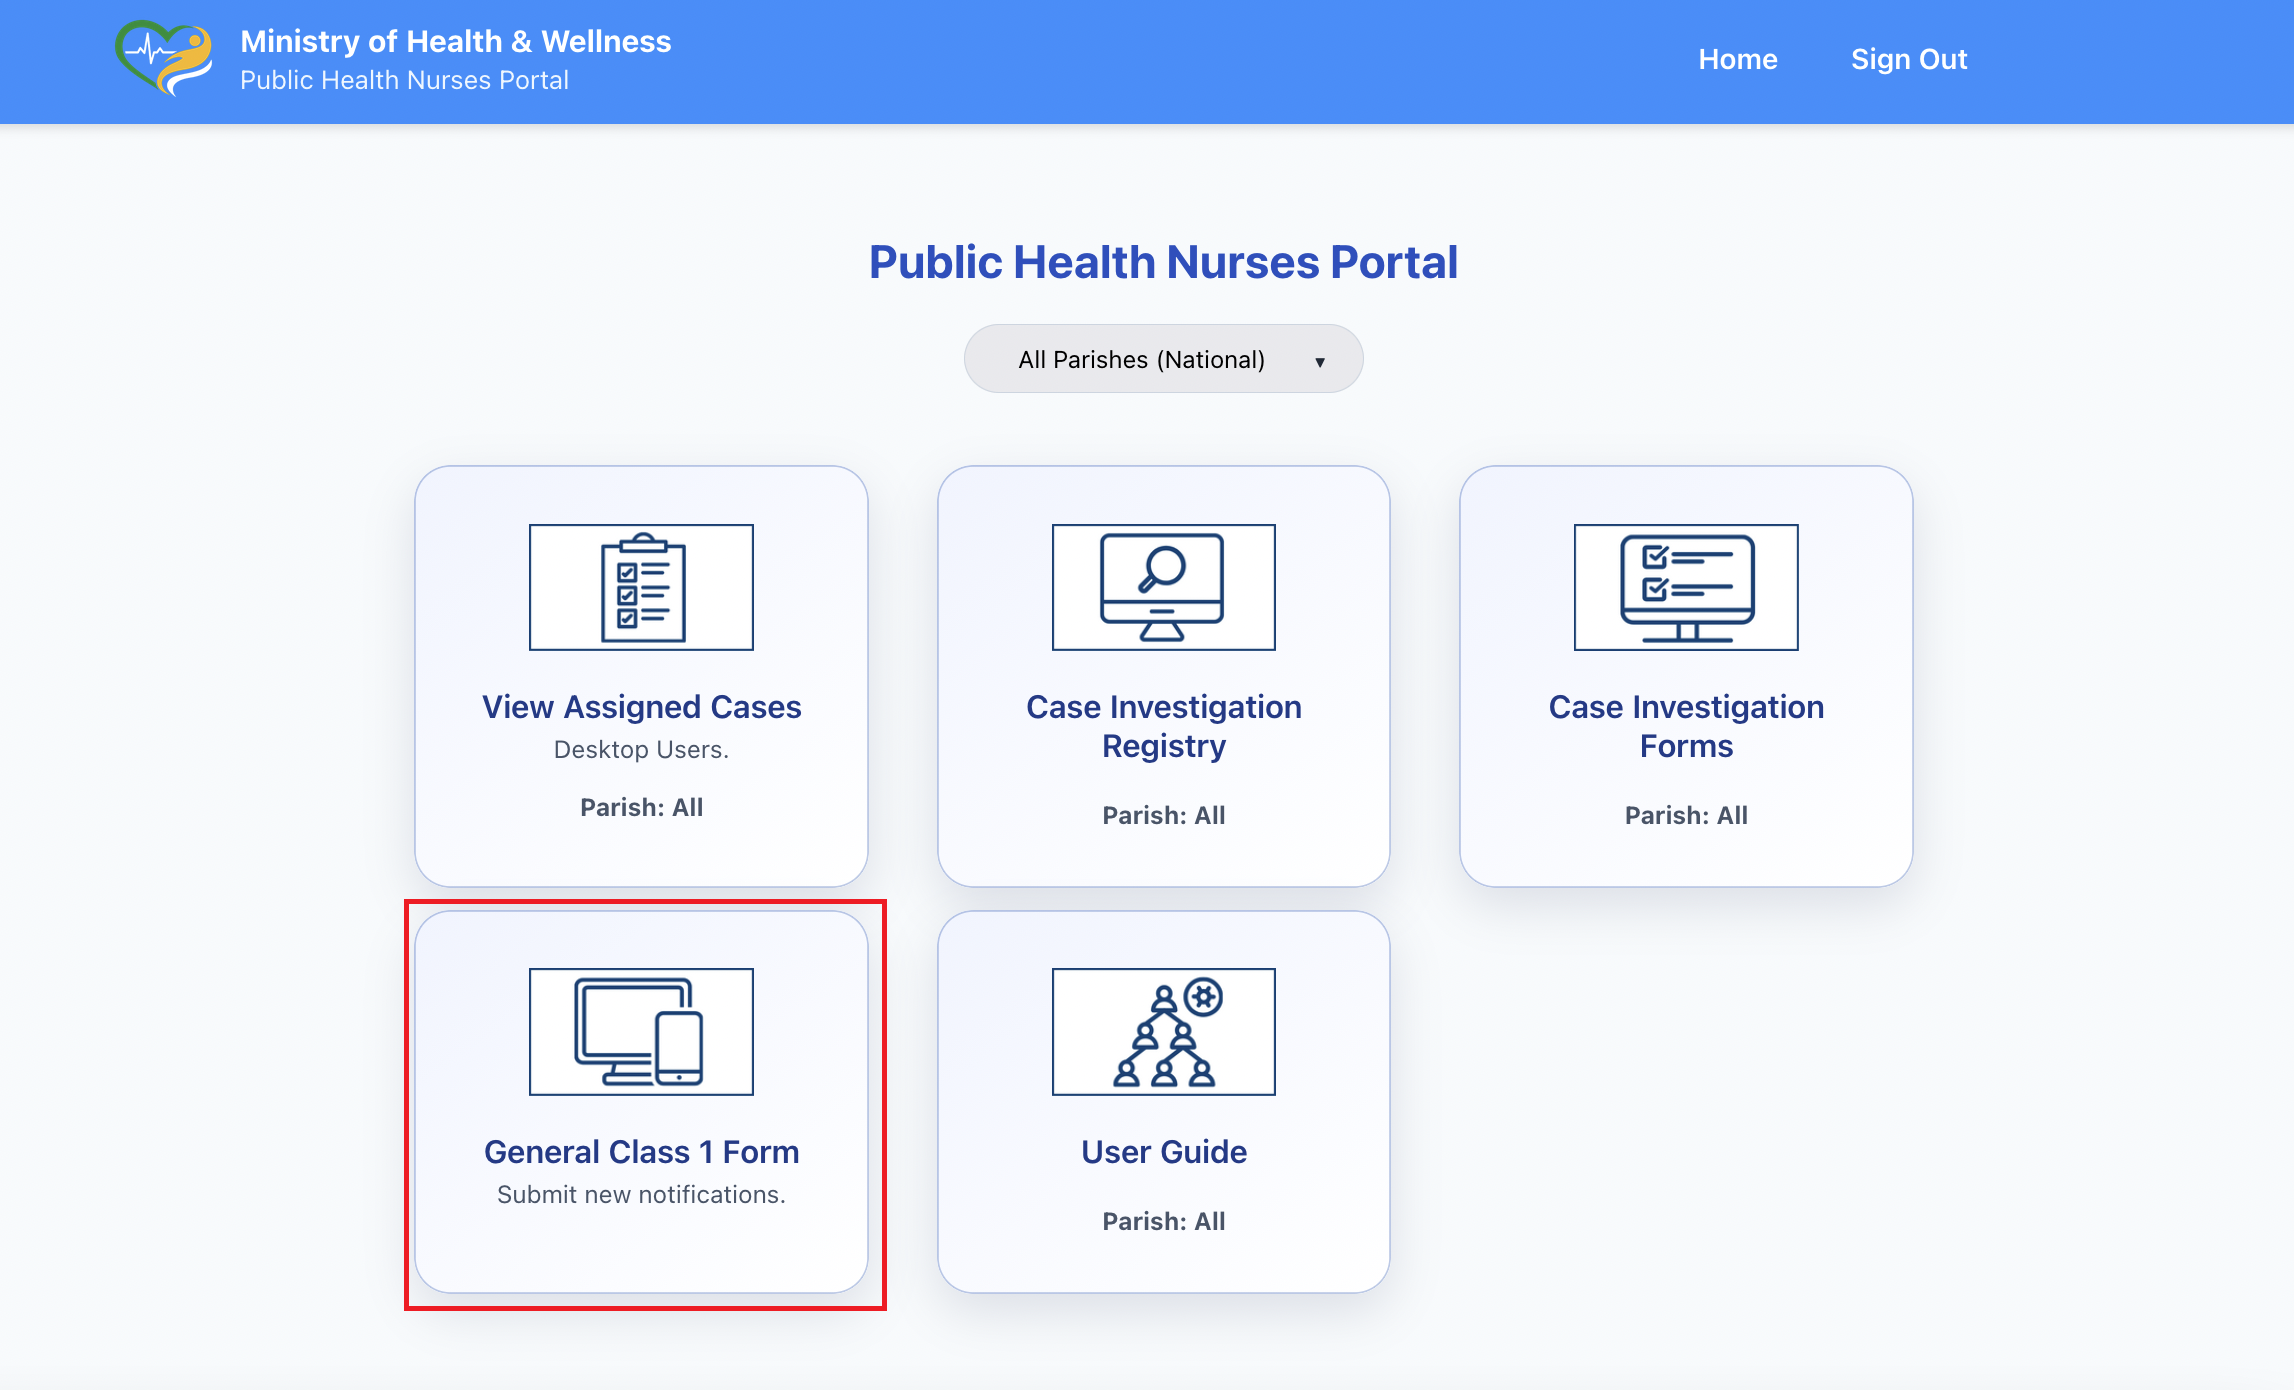
Exercise 3. Submit a Case Investigation Form
Objective: Open and complete a case investigation form for a patient.
Scenario: After reviewing an assigned case, you may need to complete the appropriate disease investigation form. This usually happens after you have collected information in the field, spoken with the patient or facility, or verified the details of the case. Your task is to open the correct investigation form, complete the required questions accurately, and submit the record into the system so that the investigation is captured properly.
Steps
-
From the portal home page, click the View Assigned Cases card.
-
when the app opens, it will look similar to the image below. card.
- Select the correct disease form.
- Enter the patient and investigation details.
- Complete all required questions.
- Review the form for accuracy and completeness.
- Submit the form.
Expected Result
- The investigation form is submitted successfully.
- The new investigation record becomes available in the system.
Check Yourself
- Did the form submit without errors?
- Does the record now appear in the registry or related system view?
Exercise 4. Submit General Class 1 Form
Objective: Enter a new general Class 1 notification when needed.
Scenario: During routine work, you may need to submit a new general Class 1 notification directly. This may happen when information is received from a facility, during field follow-up, or when you are supporting timely entry into the surveillance workflow. In this exercise, you will open the general notification form, enter the necessary information, and submit the record correctly.
Steps
-
From the portal home page, click the General Class 1 Form card.
- Enter the patient information.
- Enter the disease or suspected diagnosis.
- Complete the reporting facility and location details.
- Review the form carefully.
- Submit the notification.
Expected Result
- A new Class 1 notification is created successfully.
- The record enters the surveillance workflow.
Check Yourself
- Does the new notification now appear in the system?
- Is the information complete and accurate?
Good Practice Notes
Always review patient details carefully before submitting or updating any record. Before starting a new case investigation, check whether a record already exists. Use the assigned cases app as your starting point for work that has already been dispatched to you.